Impossible Stickers
0
0
Prev Product
Next Product
Fisker Emblem Wheel Center Caps Self-Adhesive Sleek Style

Fisker Emblem Wheel Center Caps Self-Adhesive Sleek Style

3.30
Availability:In Stock
SKU:7346

Fisker Emblem Wheel Center Caps Self-Adhesive Sleek Style

  • Materials Premium vinyl base topped with a 3D domed resin coating
  • Diameter 20–120 mm (contact us for custom sizes)
  • Durability Features Scratch-resistant, waterproof, tear-resistant, and UV-resistant
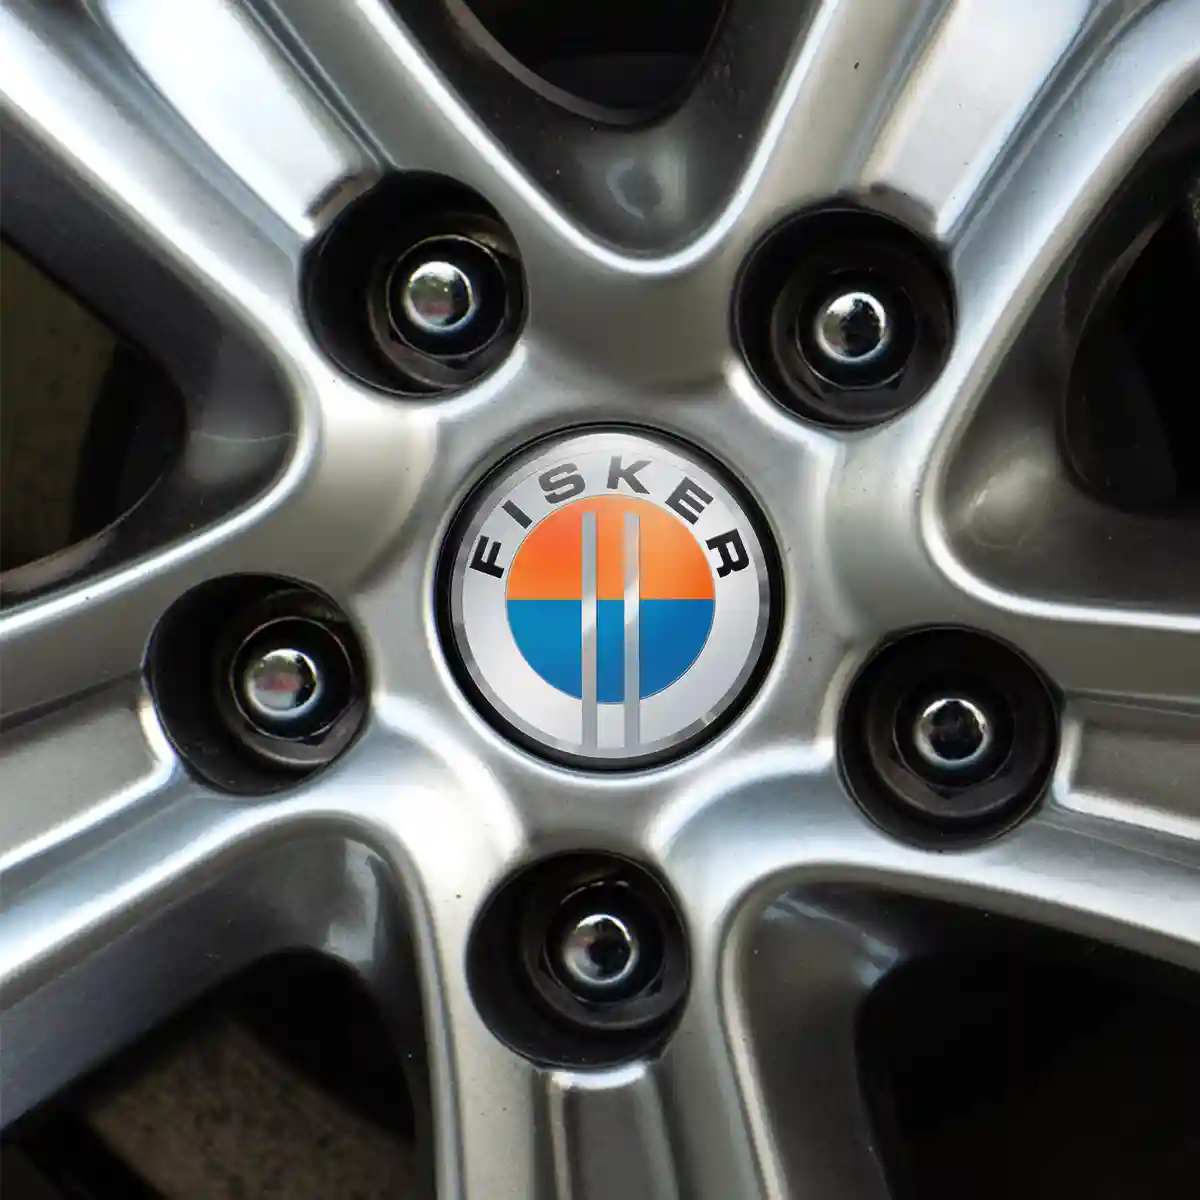
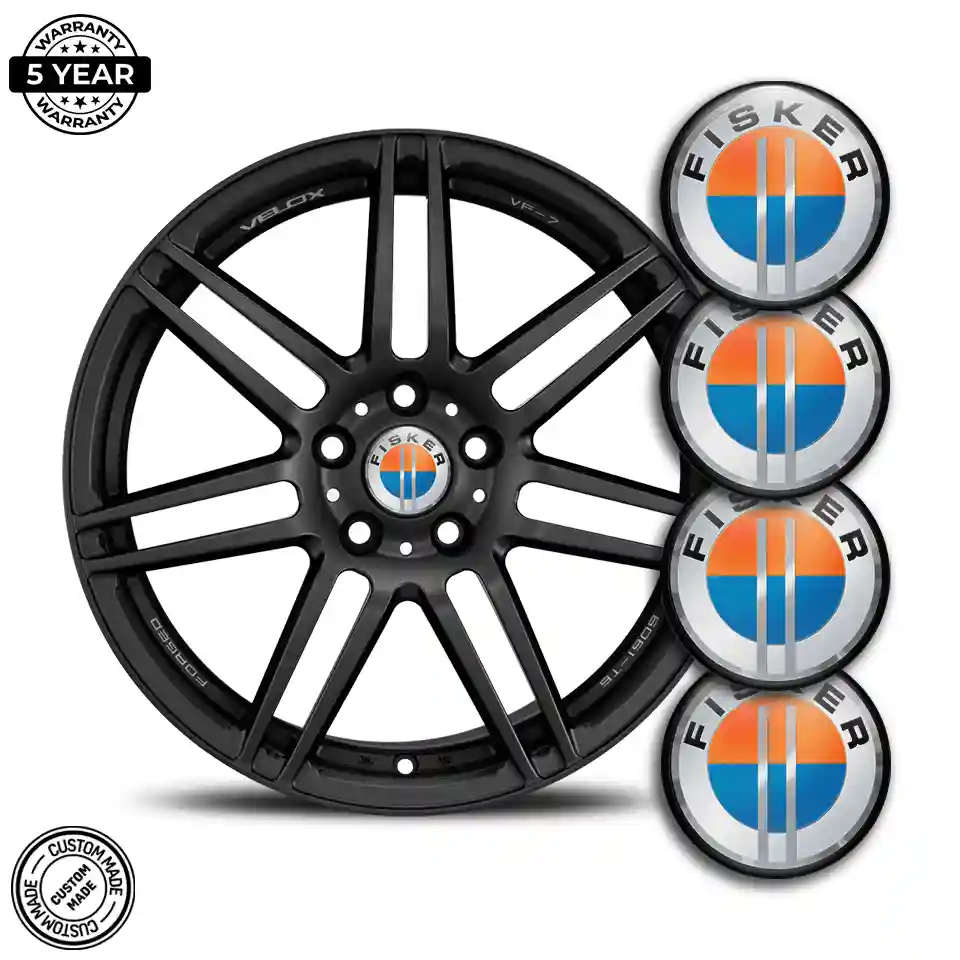
  • Fisker is the creation of Henrik Fisker, a Danish-born automotive designer whose pen shaped some of the most beautiful cars of the modern era before he put his own name on the badge. After designing the BMW Z8, the Aston Martin DB9, and the Aston Martin V8 Vantage, Fisker founded his own company with the ambition of building electric vehicles that proved sustainability and stunning design were not mutually exclusive. These 3D domed wheel center cap emblems reflect the same commitment to quality that Henrik Fisker demands from every product bearing his name. Built on a premium vinyl substrate, each carries a full-color reproduction of the Fisker badge. A thick application of UV-resistant polyurethane resin forms a smooth, raised dome that catches light and gives the logo a three-dimensional appearance. The cured resin handles stone impacts, brake dust, jet-wash pressure, and years of sun exposure without scratching, peeling, or yellowing. Installation is a thirty-second job. Wipe the cap surface clean, peel the backing from the pressure-sensitive acrylic adhesive, align the emblem, and push down firmly. The bond locks to metal, plastic, and painted surfaces on contact, with no clips, screws, or special tools needed. Diameters from 20 mm to 120 mm are in stock, fitting caps across the full Fisker lineup including a Fisker Ocean Extreme. Custom sizes are just a message away for anything non-standard.

    How to Install (3 Easy Steps)

  • PREP Clean the area thoroughly
  • PEEL Remove the paper backing from the sticker
  • STICK Carefully position the sticker and press firmly for at least 30 seconds
  • Note: THESE STICKERS ARE INTENDED FOR FLAT SURFACES ONLY. THE PRICE IS FOR 1 EMBLEM.

Priority Shipping

30-Day Returns

Secure Payment

Fisker Emblem Wheel Center Caps Self-Adhesive Sleek Style

  • Materials Premium vinyl base topped with a 3D domed resin coating
  • Diameter 20–120 mm (contact us for custom sizes)
  • Durability Features Scratch-resistant, waterproof, tear-resistant, and UV-resistant
  • Fisker is the creation of Henrik Fisker, a Danish-born automotive designer whose pen shaped some of the most beautiful cars of the modern era before he put his own name on the badge. After designing the BMW Z8, the Aston Martin DB9, and the Aston Martin V8 Vantage, Fisker founded his own company with the ambition of building electric vehicles that proved sustainability and stunning design were not mutually exclusive. These 3D domed wheel center cap emblems reflect the same commitment to quality that Henrik Fisker demands from every product bearing his name. Built on a premium vinyl substrate, each carries a full-color reproduction of the Fisker badge. A thick application of UV-resistant polyurethane resin forms a smooth, raised dome that catches light and gives the logo a three-dimensional appearance. The cured resin handles stone impacts, brake dust, jet-wash pressure, and years of sun exposure without scratching, peeling, or yellowing. Installation is a thirty-second job. Wipe the cap surface clean, peel the backing from the pressure-sensitive acrylic adhesive, align the emblem, and push down firmly. The bond locks to metal, plastic, and painted surfaces on contact, with no clips, screws, or special tools needed. Diameters from 20 mm to 120 mm are in stock, fitting caps across the full Fisker lineup including a Fisker Ocean Extreme. Custom sizes are just a message away for anything non-standard.

    How to Install (3 Easy Steps)

  • PREP Clean the area thoroughly
  • PEEL Remove the paper backing from the sticker
  • STICK Carefully position the sticker and press firmly for at least 30 seconds
  • Note: THESE STICKERS ARE INTENDED FOR FLAT SURFACES ONLY. THE PRICE IS FOR 1 EMBLEM.