Impossible Stickers
0
0
Prev Product
Next Product
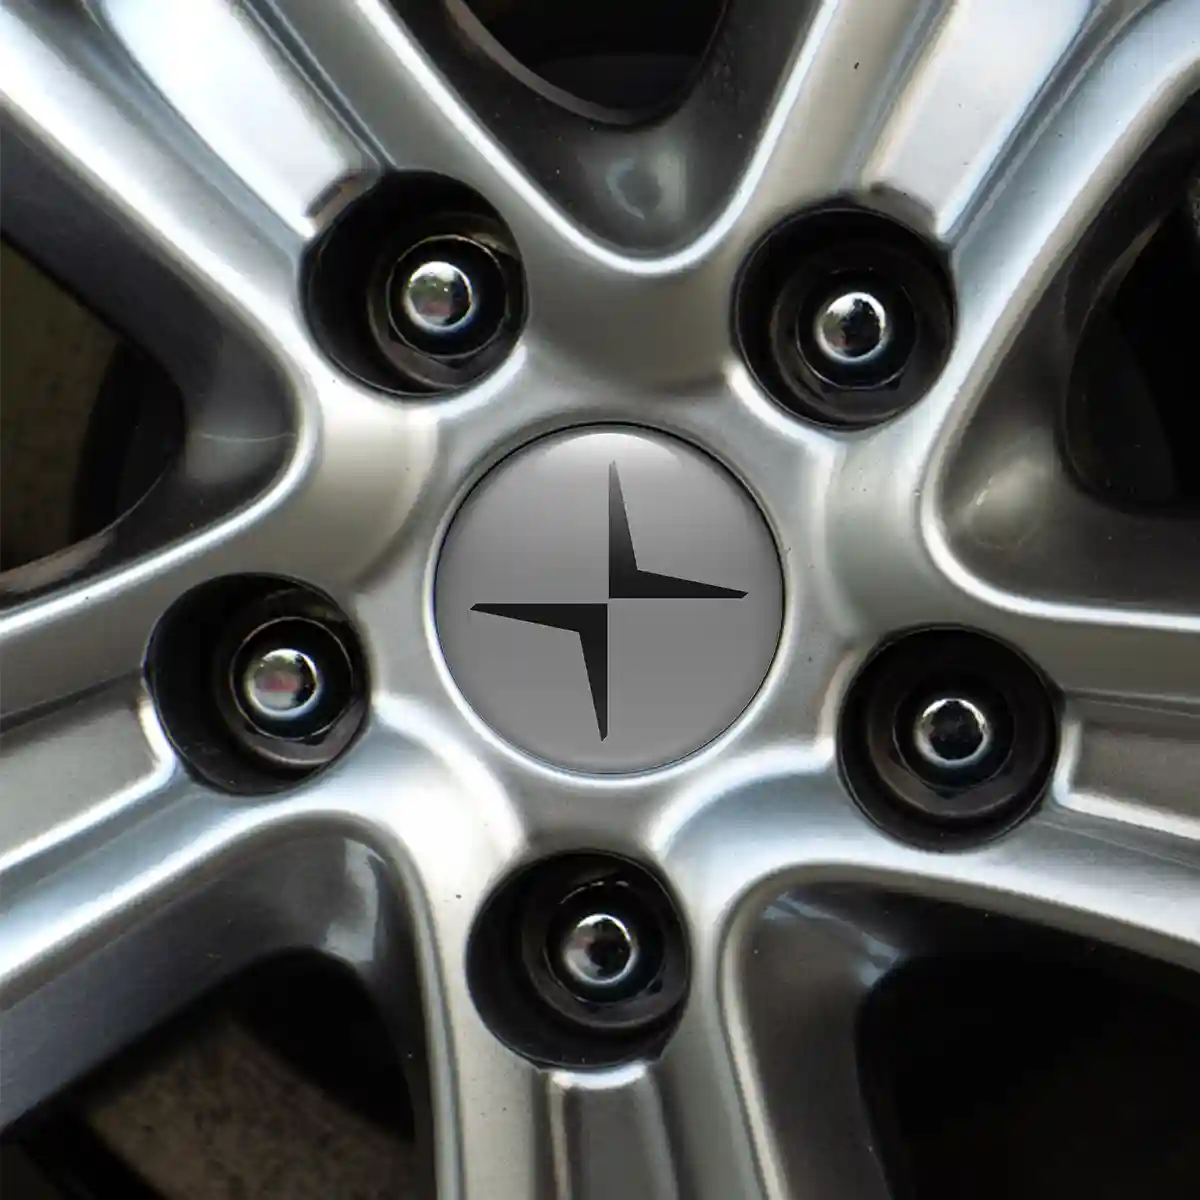
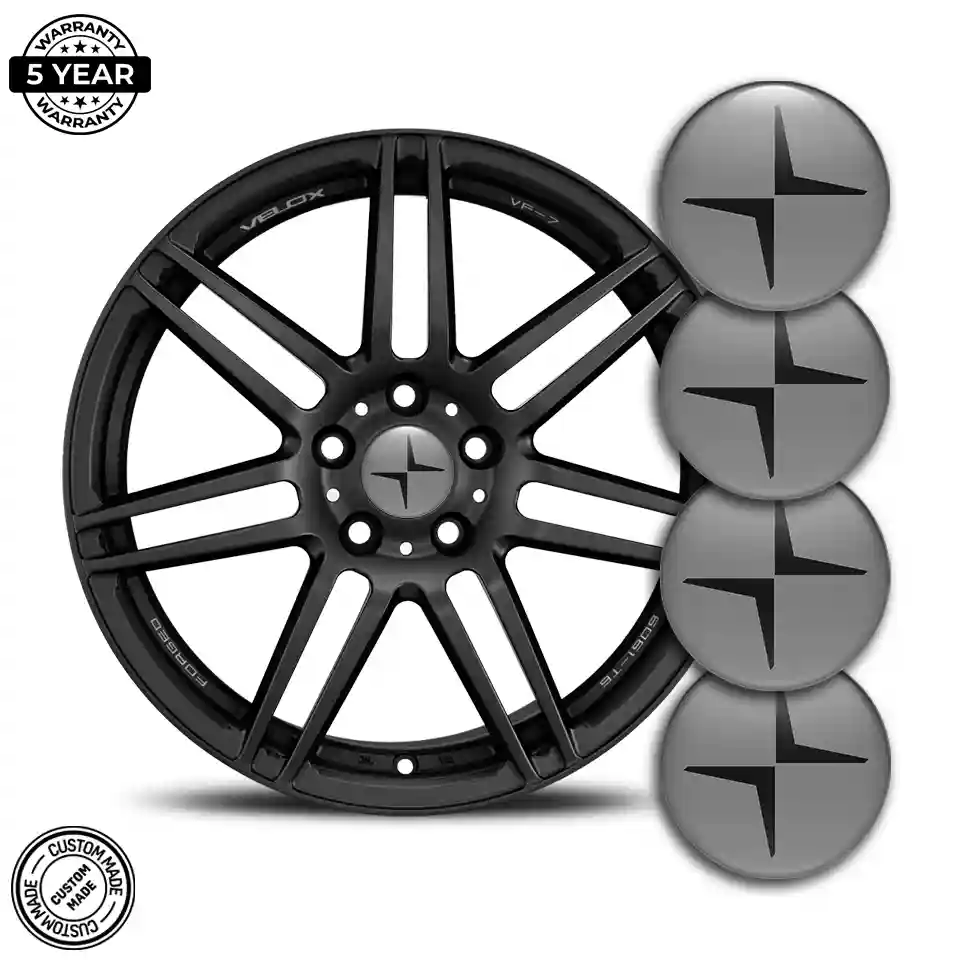
Polestar Emblem Badge Self-Adhesive Sleek Style

Polestar Emblem Badge Self-Adhesive Sleek Style

3.30
Availability:In Stock
SKU:8900

Polestar Emblem Badge Self-Adhesive Sleek Style

  • Materials Premium vinyl base topped with a 3D domed resin coating
  • Diameter 20–120 mm (contact us for custom sizes)
  • Durability Features Scratch-resistant, waterproof, tear-resistant, and UV-resistant
  • The Polestar 4 broke convention by eliminating the rear window entirely, replacing it with a high-definition camera feed on the central display. The design decision freed the roofline to swoop dramatically downward, giving the car a coupé-like silhouette that makes every other electric crossover look conservative by comparison — a bold Scandinavian statement in a segment full of cautious designs. These 3D domed wheel center cap emblems honor that heritage with meticulous build quality. Each emblem begins as a precision-cut vinyl disc printed at 1,440 dpi with solvent-based inks chosen for outdoor durability. A generous pour of UV-stabilized polyurethane resin is then applied, self-leveling into a flawless dome that adds visual depth and a glass-like three-dimensional effect. Once cured, the resin shrugs off gravel spray, resists brake-dust corrosion, and refuses to yellow even on vehicles parked outdoors year-round. On the back sits a factory-applied layer of industrial acrylic adhesive protected by a peel-away liner. Clean the cap with isopropyl alcohol, remove the liner, position the emblem, and press firmly for half a minute. The bond is permanent on metal, plastic, and painted surfaces — no heat gun, no primer, no tools required. Available in diameters from 20 mm through 120 mm, these emblems cover every cap variant — from 20-inch forged Performance wheels to the caps on a Polestar 3 Performance. Non-standard sizes can be ordered.

    How to Install (3 Easy Steps)

  • PREP Clean the area thoroughly
  • PEEL Remove the paper backing from the sticker
  • STICK Carefully position the sticker and press firmly for at least 30 seconds
  • Note: THESE STICKERS ARE INTENDED FOR FLAT SURFACES ONLY. THE PRICE IS FOR 1 EMBLEM.

Priority Shipping

30-Day Returns

Secure Payment

Polestar Emblem Badge Self-Adhesive Sleek Style

  • Materials Premium vinyl base topped with a 3D domed resin coating
  • Diameter 20–120 mm (contact us for custom sizes)
  • Durability Features Scratch-resistant, waterproof, tear-resistant, and UV-resistant
  • The Polestar 4 broke convention by eliminating the rear window entirely, replacing it with a high-definition camera feed on the central display. The design decision freed the roofline to swoop dramatically downward, giving the car a coupé-like silhouette that makes every other electric crossover look conservative by comparison — a bold Scandinavian statement in a segment full of cautious designs. These 3D domed wheel center cap emblems honor that heritage with meticulous build quality. Each emblem begins as a precision-cut vinyl disc printed at 1,440 dpi with solvent-based inks chosen for outdoor durability. A generous pour of UV-stabilized polyurethane resin is then applied, self-leveling into a flawless dome that adds visual depth and a glass-like three-dimensional effect. Once cured, the resin shrugs off gravel spray, resists brake-dust corrosion, and refuses to yellow even on vehicles parked outdoors year-round. On the back sits a factory-applied layer of industrial acrylic adhesive protected by a peel-away liner. Clean the cap with isopropyl alcohol, remove the liner, position the emblem, and press firmly for half a minute. The bond is permanent on metal, plastic, and painted surfaces — no heat gun, no primer, no tools required. Available in diameters from 20 mm through 120 mm, these emblems cover every cap variant — from 20-inch forged Performance wheels to the caps on a Polestar 3 Performance. Non-standard sizes can be ordered.

    How to Install (3 Easy Steps)

  • PREP Clean the area thoroughly
  • PEEL Remove the paper backing from the sticker
  • STICK Carefully position the sticker and press firmly for at least 30 seconds
  • Note: THESE STICKERS ARE INTENDED FOR FLAT SURFACES ONLY. THE PRICE IS FOR 1 EMBLEM.