Impossible Stickers
0
0
Prev Product
Next Product
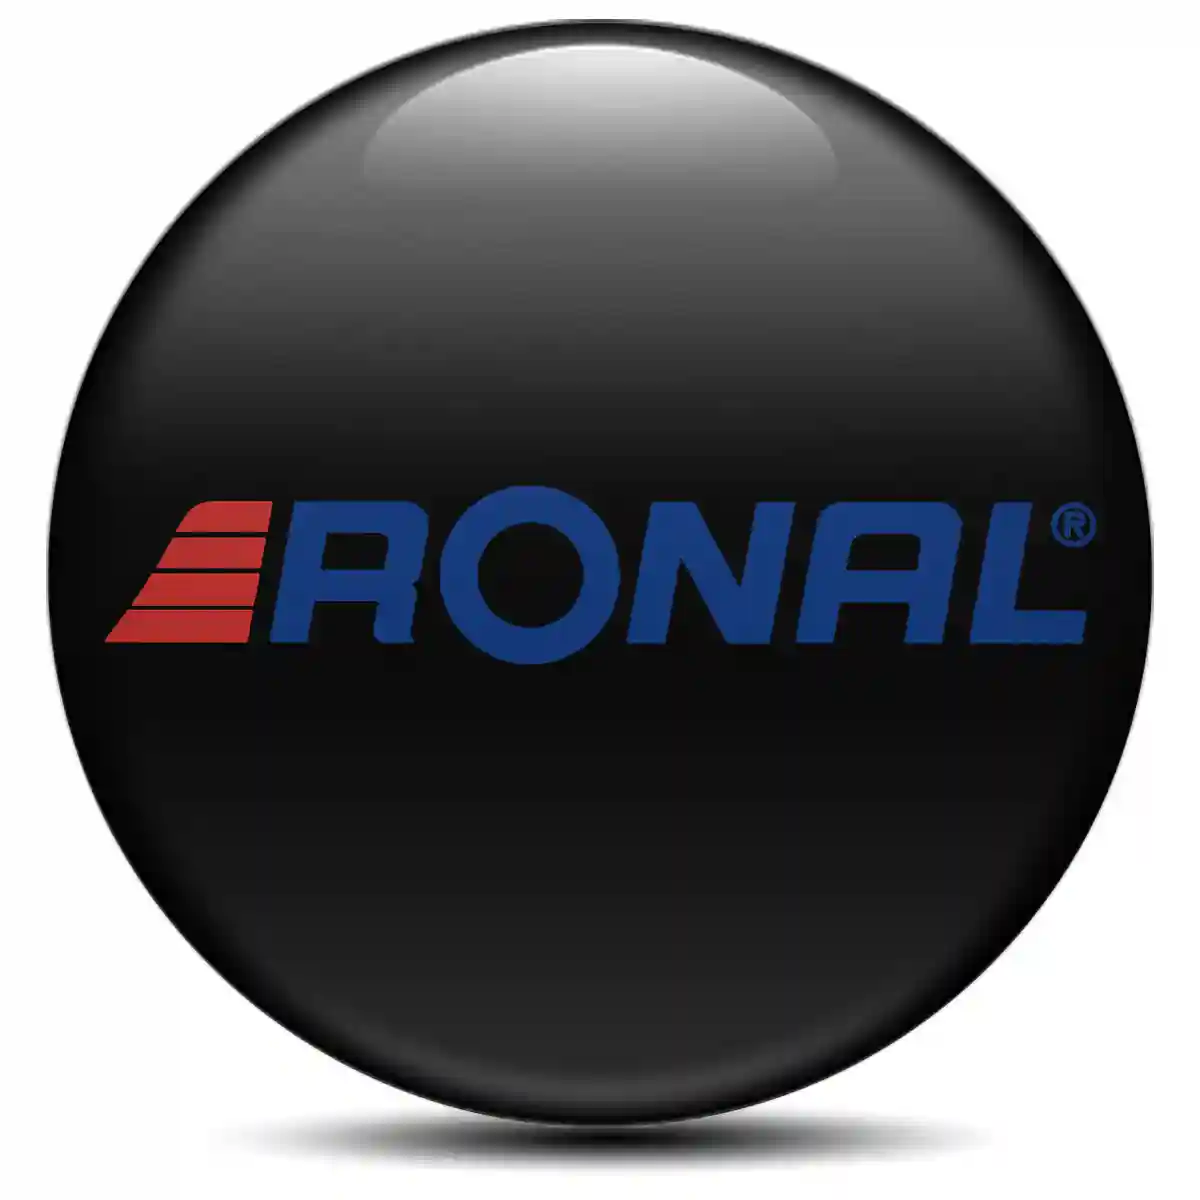
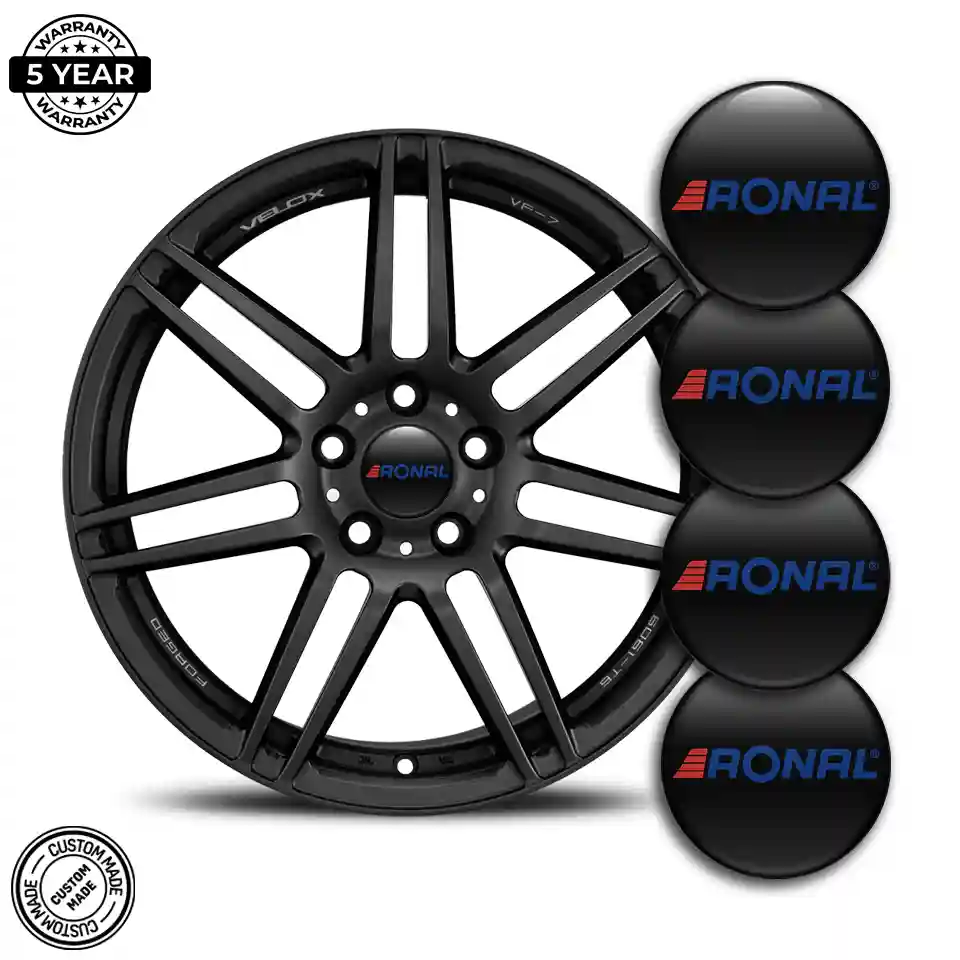
Ronal Domed Sticker Sleek Style

Ronal Domed Sticker Sleek Style

3.30
Availability:In Stock
SKU:9227

Ronal Domed Sticker Sleek Style

  • Materials Premium vinyl base topped with a 3D domed resin coating
  • Diameter 20–120 mm (contact us for custom sizes)
  • Durability Features Scratch-resistant, waterproof, tear-resistant, and UV-resistant
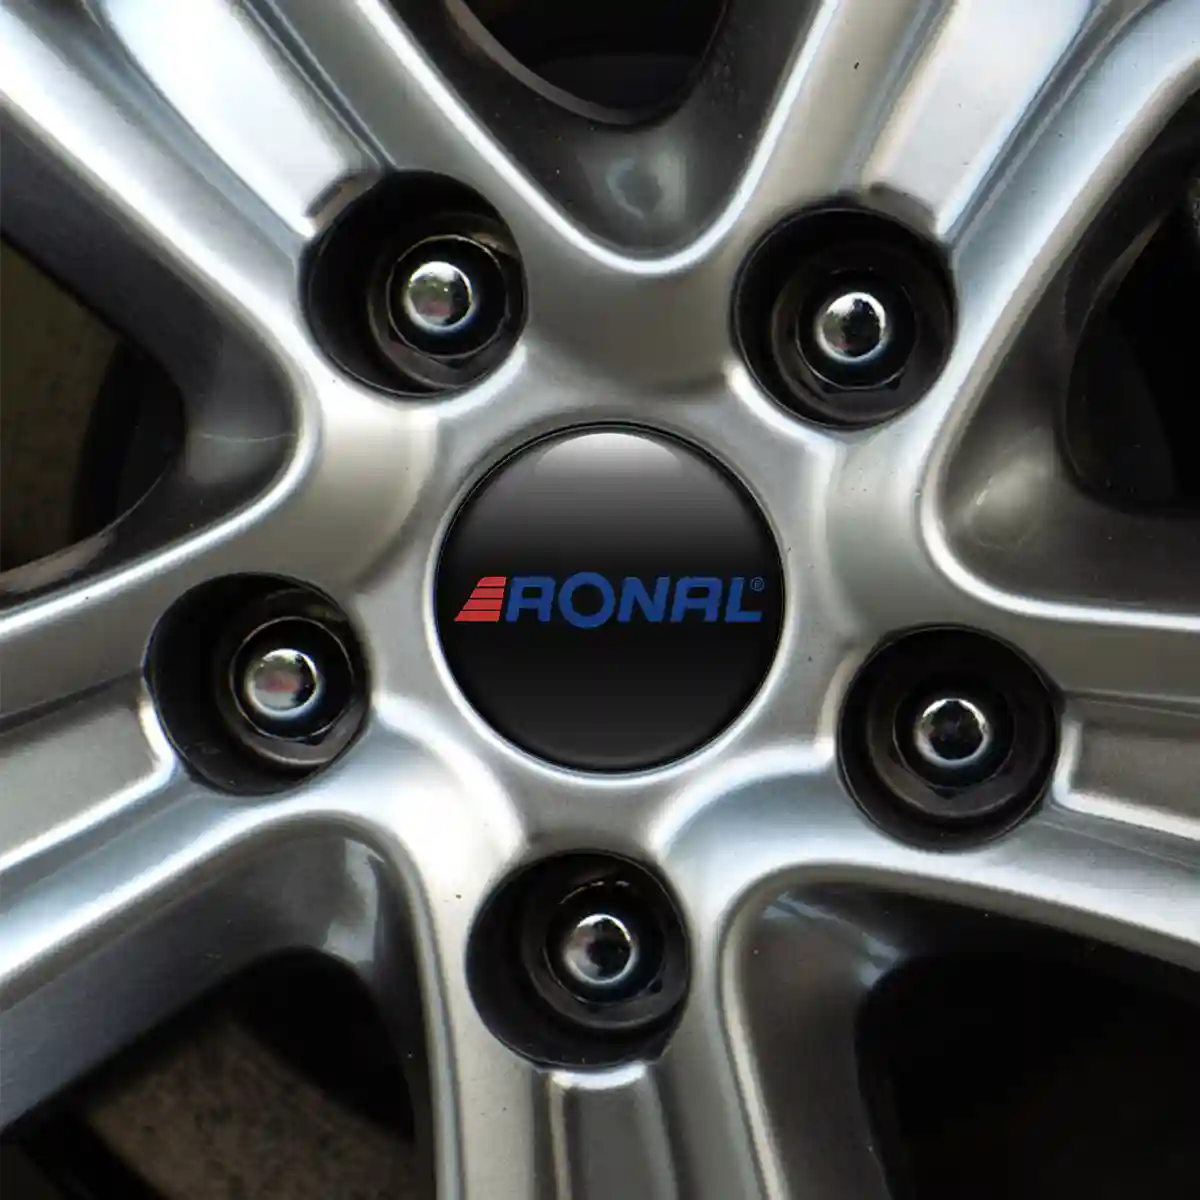
  • Karl Wirth built Ronal on a simple principle: make wheels lighter, stronger, and better-looking than whatever the car rolled out of the factory on. That philosophy attracted OEM contracts from Volkswagen and Audi in the 1970s, expanded to BMW, Mercedes, Porsche, and Saab in the 1980s and 1990s, and turned Ronal into a household name among European drivers who cared about what sat between the tyre and the hub. These 3D domed wheel center cap emblems carry that Ronal heritage in every detail. The construction starts with a high-resolution digital print of the Ronal badge on automotive-grade vinyl, reproducing the logo with pin-sharp accuracy. Over the print sits a thick dome of optically clear polyurethane resin, poured under controlled conditions and cured to a smooth, bubble-free finish. That resin layer forms a physical shield against stone chips, brake dust, road salt, UV radiation, and the abrasive punishment of automatic car washes, keeping the logo crisp and vibrant season after season. The adhesive backing is a pressure-sensitive 3M-grade acrylic film. Peel the protective liner, center the emblem on a clean, dry cap surface, and press firmly for thirty seconds. The bond grabs on contact and reaches full strength within twenty-four hours — no drilling, no clips, no alignment tools. Diameters from 20 mm to 120 mm are in stock, fitting center caps across the full Ronal lineup including a set of R55s. Custom sizes are just a message away for anything non-standard.

    How to Install (3 Easy Steps)

  • PREP Clean the area thoroughly
  • PEEL Remove the paper backing from the sticker
  • STICK Carefully position the sticker and press firmly for at least 30 seconds
  • Note: THESE STICKERS ARE INTENDED FOR FLAT SURFACES ONLY. THE PRICE IS FOR 1 EMBLEM.

Priority Shipping

30-Day Returns

Secure Payment

Ronal Domed Sticker Sleek Style

  • Materials Premium vinyl base topped with a 3D domed resin coating
  • Diameter 20–120 mm (contact us for custom sizes)
  • Durability Features Scratch-resistant, waterproof, tear-resistant, and UV-resistant
  • Karl Wirth built Ronal on a simple principle: make wheels lighter, stronger, and better-looking than whatever the car rolled out of the factory on. That philosophy attracted OEM contracts from Volkswagen and Audi in the 1970s, expanded to BMW, Mercedes, Porsche, and Saab in the 1980s and 1990s, and turned Ronal into a household name among European drivers who cared about what sat between the tyre and the hub. These 3D domed wheel center cap emblems carry that Ronal heritage in every detail. The construction starts with a high-resolution digital print of the Ronal badge on automotive-grade vinyl, reproducing the logo with pin-sharp accuracy. Over the print sits a thick dome of optically clear polyurethane resin, poured under controlled conditions and cured to a smooth, bubble-free finish. That resin layer forms a physical shield against stone chips, brake dust, road salt, UV radiation, and the abrasive punishment of automatic car washes, keeping the logo crisp and vibrant season after season. The adhesive backing is a pressure-sensitive 3M-grade acrylic film. Peel the protective liner, center the emblem on a clean, dry cap surface, and press firmly for thirty seconds. The bond grabs on contact and reaches full strength within twenty-four hours — no drilling, no clips, no alignment tools. Diameters from 20 mm to 120 mm are in stock, fitting center caps across the full Ronal lineup including a set of R55s. Custom sizes are just a message away for anything non-standard.

    How to Install (3 Easy Steps)

  • PREP Clean the area thoroughly
  • PEEL Remove the paper backing from the sticker
  • STICK Carefully position the sticker and press firmly for at least 30 seconds
  • Note: THESE STICKERS ARE INTENDED FOR FLAT SURFACES ONLY. THE PRICE IS FOR 1 EMBLEM.