Impossible Stickers
0
0
Prev Product
Next Product
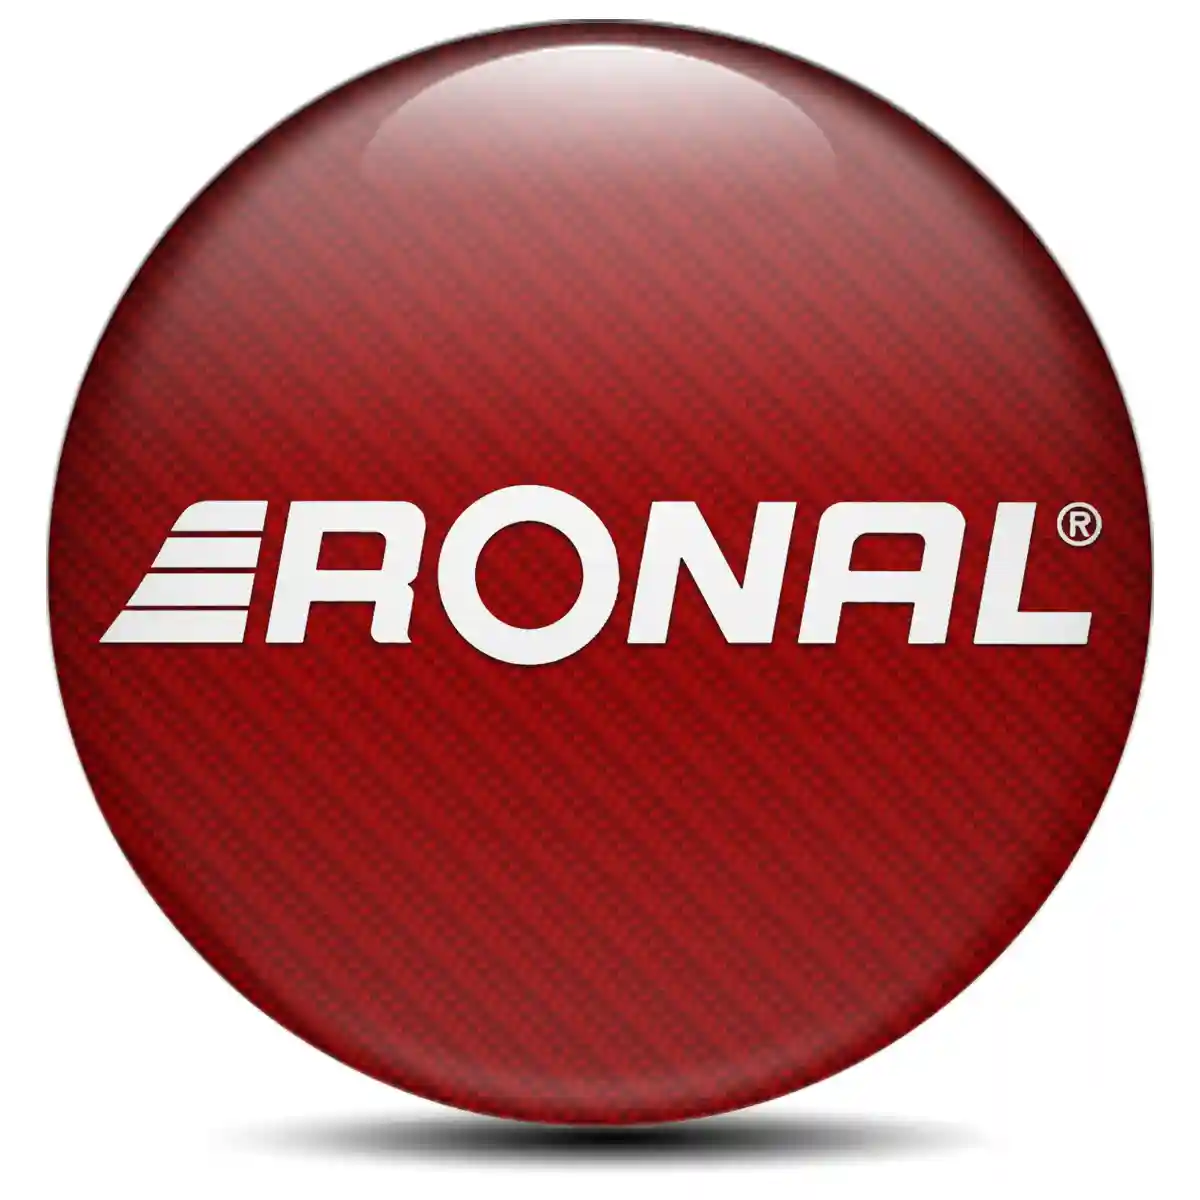
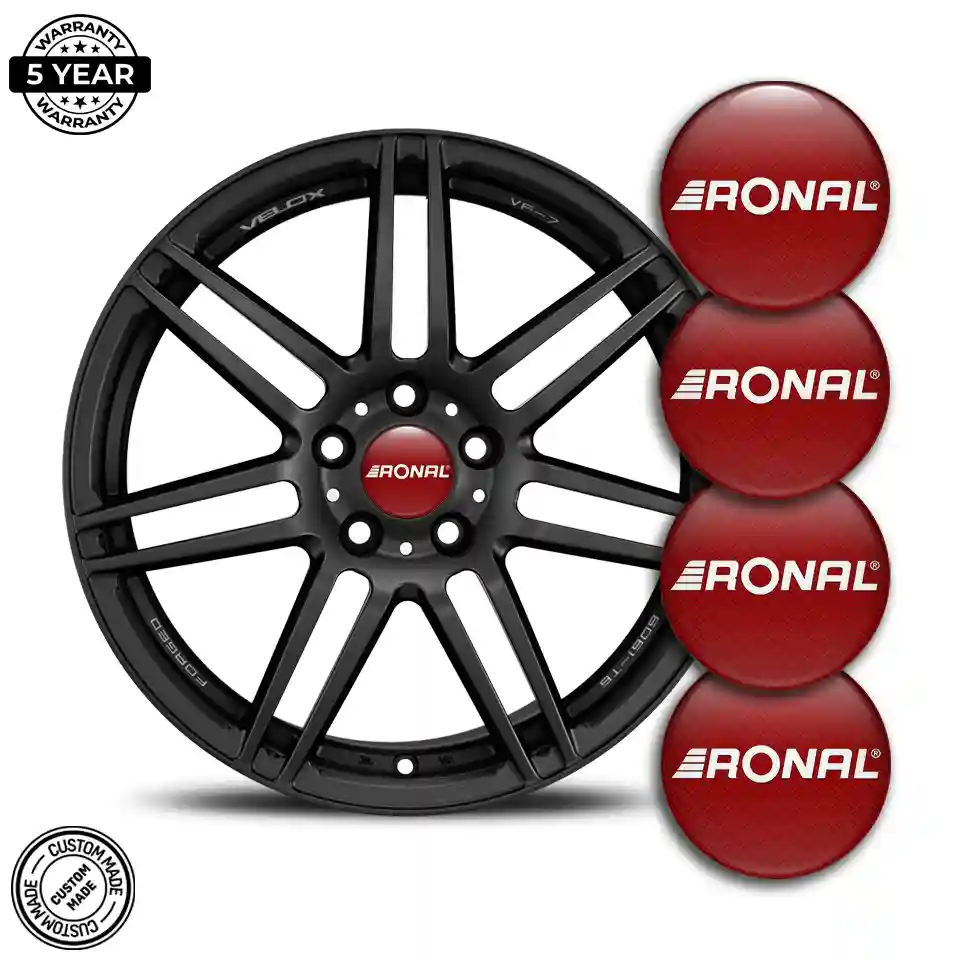
Ronal Emblem Epoxy Self-Adhesive Sleek Style

Ronal Emblem Epoxy Self-Adhesive Sleek Style

3.30
Availability:In Stock
SKU:9252

Ronal Emblem Epoxy Self-Adhesive Sleek Style

  • Materials Premium vinyl base topped with a 3D domed resin coating
  • Diameter 20–120 mm (contact us for custom sizes)
  • Durability Features Scratch-resistant, waterproof, tear-resistant, and UV-resistant
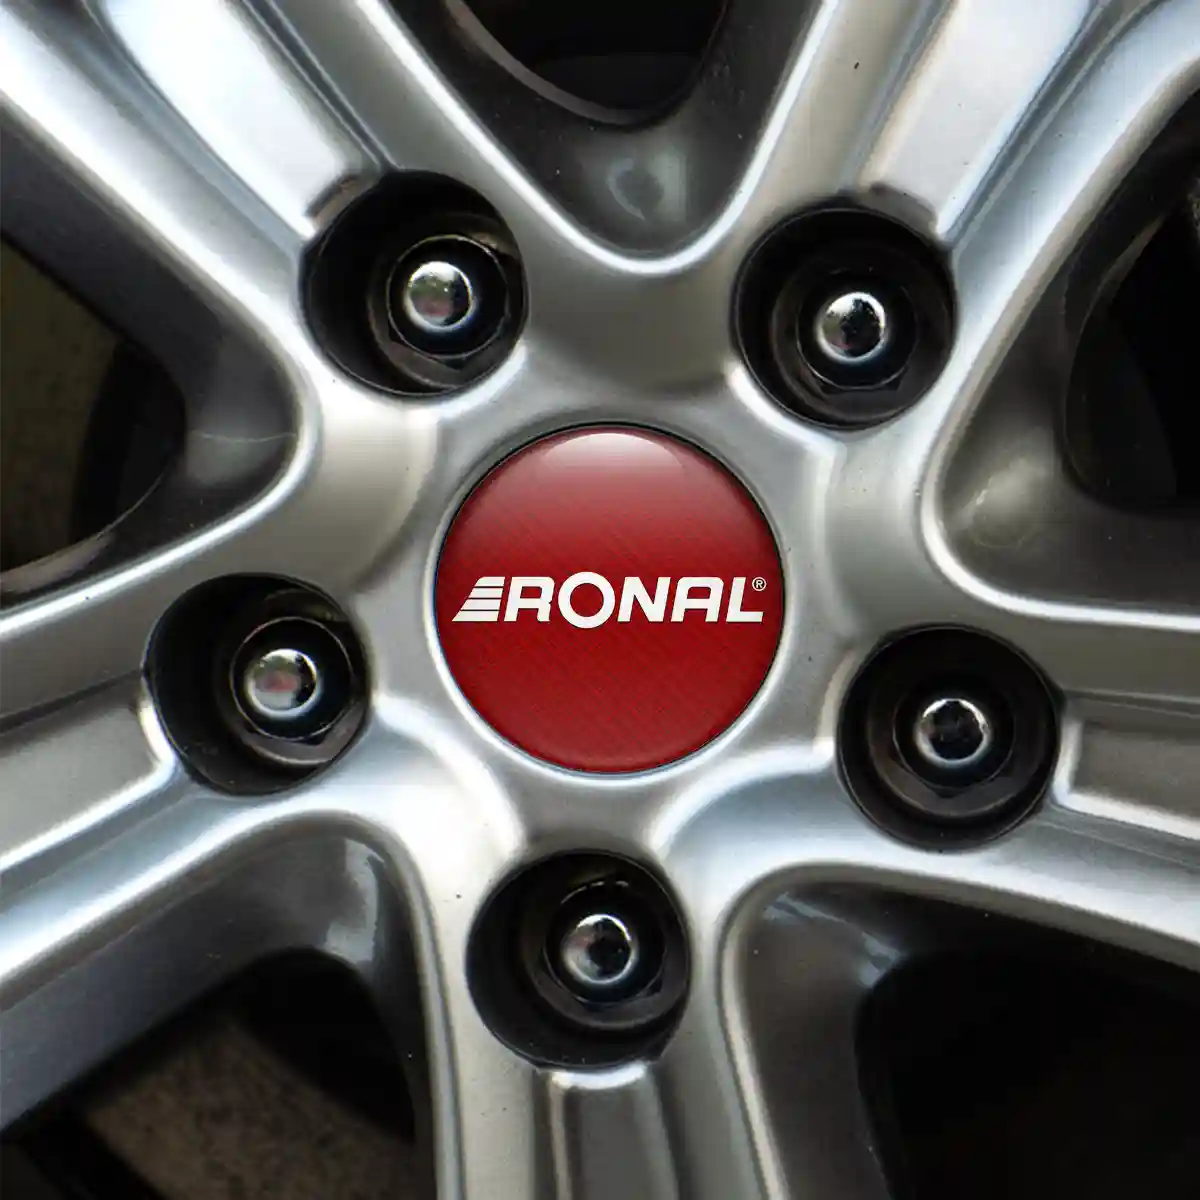
  • Ronal's Forst factory in Baden-Württemberg uses low-pressure casting and flow-forming technology to produce wheels that balance weight, strength, and cost across a product range that spans compact-car fitments to SUV-rated designs. Every wheel undergoes TÜV testing and carries the required European certifications, ensuring that the Ronal badge on the center cap is backed by verified structural integrity. These 3D domed wheel center cap emblems honor that pedigree with meticulous build quality. Each emblem begins as a precision-cut vinyl disc printed at 1,440 dpi with solvent-based inks chosen for outdoor durability. A generous pour of UV-stabilized polyurethane resin is then applied, self-leveling into a flawless dome that adds visual depth and a glass-like three-dimensional effect. Once cured, the resin shrugs off gravel spray, resists brake-dust corrosion, and refuses to yellow even on vehicles parked outdoors year-round. On the back sits a factory-applied layer of industrial acrylic adhesive protected by a peel-away liner. Clean the cap with isopropyl alcohol, remove the liner, position the emblem, and press firmly for half a minute. The bond is permanent on metal, plastic, and painted surfaces — no heat gun, no primer, no tools required. Diameters from 20 mm to 120 mm are in stock, fitting center caps across the full Ronal lineup including a pair of R1 reissues. Custom sizes are just a message away for anything non-standard.

    How to Install (3 Easy Steps)

  • PREP Clean the area thoroughly
  • PEEL Remove the paper backing from the sticker
  • STICK Carefully position the sticker and press firmly for at least 30 seconds
  • Note: THESE STICKERS ARE INTENDED FOR FLAT SURFACES ONLY. THE PRICE IS FOR 1 EMBLEM.

Priority Shipping

30-Day Returns

Secure Payment

Ronal Emblem Epoxy Self-Adhesive Sleek Style

  • Materials Premium vinyl base topped with a 3D domed resin coating
  • Diameter 20–120 mm (contact us for custom sizes)
  • Durability Features Scratch-resistant, waterproof, tear-resistant, and UV-resistant
  • Ronal's Forst factory in Baden-Württemberg uses low-pressure casting and flow-forming technology to produce wheels that balance weight, strength, and cost across a product range that spans compact-car fitments to SUV-rated designs. Every wheel undergoes TÜV testing and carries the required European certifications, ensuring that the Ronal badge on the center cap is backed by verified structural integrity. These 3D domed wheel center cap emblems honor that pedigree with meticulous build quality. Each emblem begins as a precision-cut vinyl disc printed at 1,440 dpi with solvent-based inks chosen for outdoor durability. A generous pour of UV-stabilized polyurethane resin is then applied, self-leveling into a flawless dome that adds visual depth and a glass-like three-dimensional effect. Once cured, the resin shrugs off gravel spray, resists brake-dust corrosion, and refuses to yellow even on vehicles parked outdoors year-round. On the back sits a factory-applied layer of industrial acrylic adhesive protected by a peel-away liner. Clean the cap with isopropyl alcohol, remove the liner, position the emblem, and press firmly for half a minute. The bond is permanent on metal, plastic, and painted surfaces — no heat gun, no primer, no tools required. Diameters from 20 mm to 120 mm are in stock, fitting center caps across the full Ronal lineup including a pair of R1 reissues. Custom sizes are just a message away for anything non-standard.

    How to Install (3 Easy Steps)

  • PREP Clean the area thoroughly
  • PEEL Remove the paper backing from the sticker
  • STICK Carefully position the sticker and press firmly for at least 30 seconds
  • Note: THESE STICKERS ARE INTENDED FOR FLAT SURFACES ONLY. THE PRICE IS FOR 1 EMBLEM.