
Applying Domes to Low Energy Plastics: The Challenge of Polypropylene
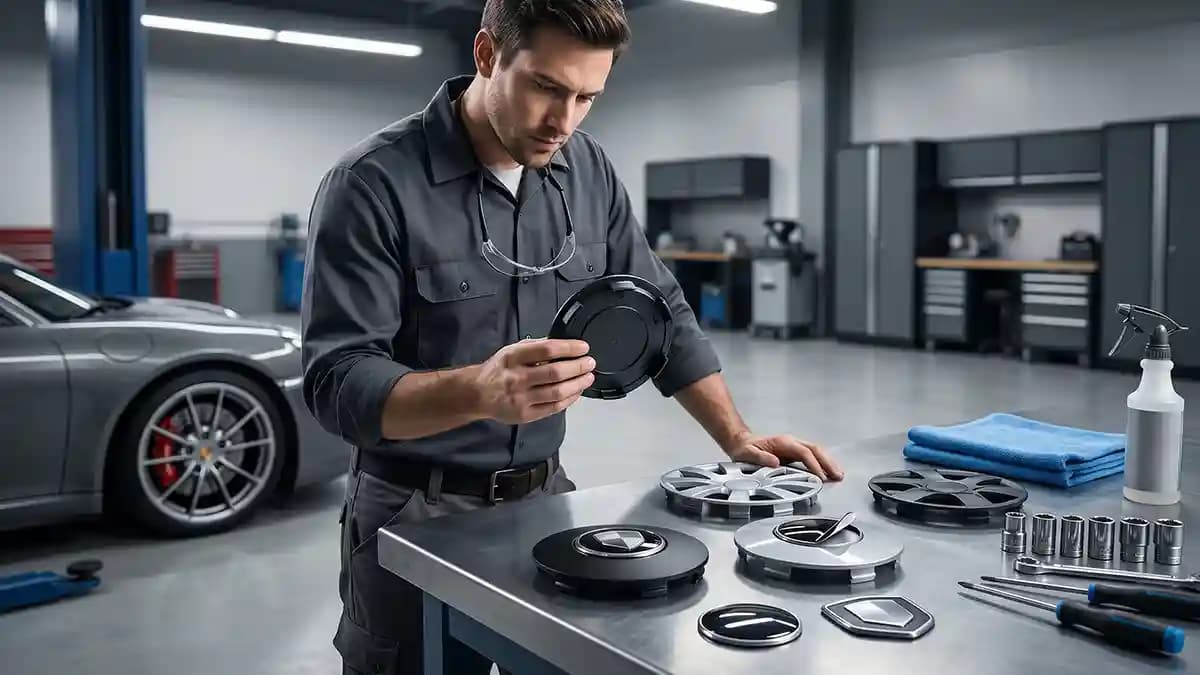
Low energy plastics are the reason a perfect looking domed sticker can still peel like a cheap bandage on sweaty skin. I learned that standing in my garage with a small polypropylene cap in one hand and a gorgeous dome in the other, feeling way too confident for a guy about to lose. The sticker looked right, the size was right, the surface looked clean, and still the edge started lifting before I finished my coffee. That is the whole lesson right away, polypropylene does not care how nice your sticker is if the surface is not ready to hold it.
The annoying thing is that polypropylene looks easy. It is smooth, light, and common on caps, trim pieces, storage boxes, scooter parts, tool cases, and random plastic covers that live around cars and garages. You look at it and think, cool, flat surface, peel and press. Then the adhesive beads up in tiny ways you cannot see and the bond acts weak later, like it signed up for the job but never planned to show up.
Here is the garage version. Some plastics are friendly. Painted metal, glass, coated aluminum, and smooth ABS usually give adhesive something to bite. Polypropylene is different because it has low surface energy, which means the adhesive has a harder time spreading out and making close contact.
Why polypropylene is such a difficult surface
I used to blame the sticker first. I would look at a lifted edge and think the glue was weak, because that is the easy answer. Then I started testing the same sticker on painted metal, ABS, and polypropylene. Same sticker, same hand, same pressure, very different results.
The real issue is wetting. That word sounds like something from a science class you slept through, but it is simple. Good wetting means the adhesive spreads across the surface in a smooth thin layer. Bad wetting means it sits there like water on a waxed hood, touching less surface than it should.
Think about it like this.
High energy surfaces let adhesive spread out.
Low energy plastics make adhesive pull back.
Less contact means less grip.
Less grip means edge lift starts faster.
Edge lift invites water, dust, and bad language.
Polypropylene is useful because it is tough, light, cheap, and it does not soak up much. That is great for the part maker. It is not great for the person trying to stick a raised dome on it. The same trait that makes it resist mess also makes it resist bonding.
How to spot polypropylene before you stick anything
You do not always get a nice label that says polypropylene. That would be too kind. Car parts love being vague, and older caps love being even worse. Sometimes the only clue is how the plastic feels and how it acts.
Look for these signs.
The part feels light and a bit waxy.
Water forms beads instead of spreading.
The plastic has PP marked on the back.
Stickers have failed on it before for no clear reason.
The surface feels smooth but strangely slick after cleaning.
That water bead test is not lab work, but it gives you a hint. Put one tiny drop of clean water on a hidden spot. If it beads hard and sits tall, treat the part like polypropylene.
The prep routine I trust on difficult surfaces
The first rule is boring, which is rude but true. Clean the surface for the bond you want, not for the shine you see. A plastic cap can look clean and still have mold release, wax, finger oil, tire dressing mist, or old cleaner on it. That stuff becomes a tiny weak layer, and the adhesive sticks to that instead of the plastic.
Here is my base routine.
Wash with mild soap and warm water.
Rinse well so no soap film stays behind.
Dry with a clean lint free towel.
Wipe the landing zone with isopropyl alcohol.
Let it flash dry fully.
Do not touch the bonding area again.
Dry fit the dome before peeling the backing.
Press from the center outward, then seal the full edge.
The alcohol wipe is not magic. It removes oil and grime, but it does not turn polypropylene into painted metal. Cleaning removes the junk, but it does not raise surface energy enough by itself.
This is why I like starting with simple domed stickers only after I know the landing zone is flat, clean, and not fighting me. A fresh dome can look expensive fast, but only if the surface lets the adhesive work. The best product still needs a fair surface. A sticker on a bad surface is just a future complaint with nicer packaging.
When primer becomes the adult in the room
Real talk, primer is not glamorous. Nobody opens a package and gets excited about a tiny bottle of clear prep liquid. But on polypropylene, primer can be the difference between a badge that stays down and a badge that slowly peels while making eye contact with you. I hate when plastic wins like that.
A primer or adhesion promoter acts like a bridge. It helps the plastic surface become friendlier to the adhesive. Instead of asking the sticker to grip a slick low energy surface alone, you give it a treated layer that bonds better. It is not cheating, it is basic survival.
Use primer when the job matters and the surface gives you warning signs. If the cap is polypropylene, if the surface feels waxy, if the dome has more weight than a flat decal, or if the part sees water and heat, primer earns its spot. Do not flood the part like you are watering a plant. Use the product as directed, let it dry as directed, then bond while the surface is ready.
My primer rules are simple.
Test on a hidden spot first.
Use only a thin even wipe.
Keep it off visible areas when possible.
Let the solvent dry fully.
Apply the dome soon after prep.
Press the full surface with firm even pressure.
That hidden test matters. Some primers can mark certain plastics, haze glossy areas, or leave a visible change if you get sloppy. The goal is stronger adhesion, not a mystery stain shaped like your thumb. Been there, hated that.
Heat helps, but it is not a magic wand
A little warmth can help pressure sensitive adhesive flow better. Cold adhesive feels stiff and lazy. Warm adhesive can wet the surface more easily, which helps it make closer contact. But heat is a tool, not a rescue dog.
Use gentle warmth only. A hair dryer is often enough for small domes. You want the plastic and the adhesive slightly warm, not soft, warped, or shiny in a scary new way. If the cap starts smelling like a melted lunchbox, you have gone too far.
I use this heat routine.
Warm the plastic until it feels room warm, not hot.
Warm the dome backing lightly before application.
Apply the sticker once, with clean hands or gloves.
Press the center first.
Press around the full edge with steady force.
Let it rest indoors before outdoor use.
Pressure matters more than most people think. A quick thumb press in the middle is not enough. The edge is where failure starts, so the edge gets attention. Press it like you are sealing a tiny door that keeps water and dust out.
Flat beats curved on low energy plastic
Polypropylene is already a difficult surface. Add a curve and the job gets mean. A domed sticker has body, weight, and memory, so it wants to stay in its own shape. If you force it across a curve, the edges pull upward all day like they are training for a tiny escape.
This is why flat surfaces matter so much. A clean flat landing zone lets the adhesive carry the load evenly. A curved or textured surface creates tension at the edge. Tension plus low energy plastic equals peeling, and peeling makes adults say words they do not use around children.
Before you order, check the landing zone.
Place a straight edge across the cap face.
Look for daylight under the ruler.
Check if the edge of the sticker would sit on a curve.
Avoid raised rings, grooves, or texture.
Choose the same size or one millimeter smaller than the flat face.
Ask for custom size help if the cap shape looks weird.
A one millimeter gap is not a failure. It can be the clean choice because the full adhesive stays on the flat zone. A sticker that reaches too far and climbs a raised lip looks brave for ten minutes. Then it lifts.
The mistake that ruins good polypropylene stickers
The biggest mistake is treating polypropylene like normal plastic. People clean it once, stick the dome, and judge the result by how it looks in the first five minutes. That is like judging a tire by how round it looks in the store. The road tells the truth later.
Here are the usual crimes.
Installing over tire shine mist.
Touching the adhesive with bare fingers.
Skipping primer on a slick plastic part.
Applying in a cold garage.
Pressing only the middle.
Washing the part too soon.
Using a dome on a deep curve.
Picking a size that rides over the edge.
The funny part is that each mistake looks small. One fingerprint. One cold evening. One tiny curve. One quick wash. Stack them together and your sticker is basically standing on banana peels.
My best install plan for polypropylene domes
When I want a dome to hold on polypropylene, I slow down. Not forever. Just enough to stop being stupid. Most failures come from acting like the easy step is the only step.
This is the plan I trust.
Confirm the face is flat enough for a dome.
Measure only the visible flat area.
Wash and dry the part fully.
Wipe with isopropyl alcohol and let it dry.
Test primer on a hidden spot.
Apply a thin coat of primer if needed.
Warm the part gently if the room is cool.
Apply the dome from straight above.
Press center outward with firm pressure.
Work the edge twice.
Let it rest before washing or stress.
That list looks long, but the job is still simple. Most of it is waiting, wiping, and not touching things you just cleaned. Your future self will thank you when the emblem still sits flat after rain, heat, and that one car wash guy who treats every wheel like a sidewalk.
If the dome is for a wheel cap, I also check the whole wheel plan before I stick anything. A center cap is the bullseye of the wheel. If the badge is crooked or lifting, your eye finds it faster than a dog finds dropped food. For more ideas on matching sizes and finishes, the Impossible Stickers blog is worth keeping open while you plan the job.
When you should not use a dome
I like domed stickers, but I do not try to put them everywhere. That is how good products get blamed for bad choices. Some polypropylene surfaces are just not good homes for a raised dome. The honest answer saves money.
Skip the dome when you see this.
Deep texture that stops full contact.
Strong curve across the cap face.
Flexible plastic that bends during use.
Oily plastic that stays slick after cleaning.
Areas that rub against hands, tools, or boots.
Edges that sit in standing water.
In those cases, use a thinner decal, change the placement, replace the cap, or ask for another material plan. The goal is not proving you can force a dome onto a bad surface. The goal is making the part look clean and stay clean. There is a difference, and your wheel will tell on you.
Quick Q and A
Q: Why do stickers peel off polypropylene so easily?
Polypropylene has low surface energy, so adhesive has a harder time spreading and making strong contact. If the surface is also cold, oily, curved, or touched by fingers, the bond gets weaker fast.
Q: Do polypropylene stickers always need primer?
Not always, but primer is smart when the part is slick, exposed to water, or important enough that failure is annoying. Test first, because some primers can mark visible plastic.
Q: Can I use alcohol only on low energy plastics?
Alcohol is good for removing oil and dirt, but it does not fully fix the low energy problem. Use it as a cleaning step, not as the whole bonding plan.
Q: Should I heat polypropylene before applying a dome?
Gentle warmth helps when the room or plastic is cold. Do not overheat the part, because warped plastic is a new problem you made for free.
Q: What is the best surface for a 3D dome?
A flat, smooth, clean surface is best. If the cap is curved, textured, oily, or flexible, the dome has to fight the surface from day one.
Q: Can I sand polypropylene before applying a sticker?
Sanding alone is not a full fix. It can add scratches, but it does not raise surface energy enough by itself and can trap air under the adhesive.
Q: How long should I wait before washing after install?
Give the adhesive time to build strength before water, soap, and pressure. Waiting at least a full day is safer, and longer is better when the surface is difficult.
Final take, polypropylene is not impossible, but it is not casual. Clean it, test it, prime it when needed, warm it gently, press it hard, and respect the flat landing zone. Do that and your dome has a real chance. Skip those steps and the plastic wins, and plastic is a smug little creature.