
How to Center a Round Decal Perfectly on a Blank Hubcap
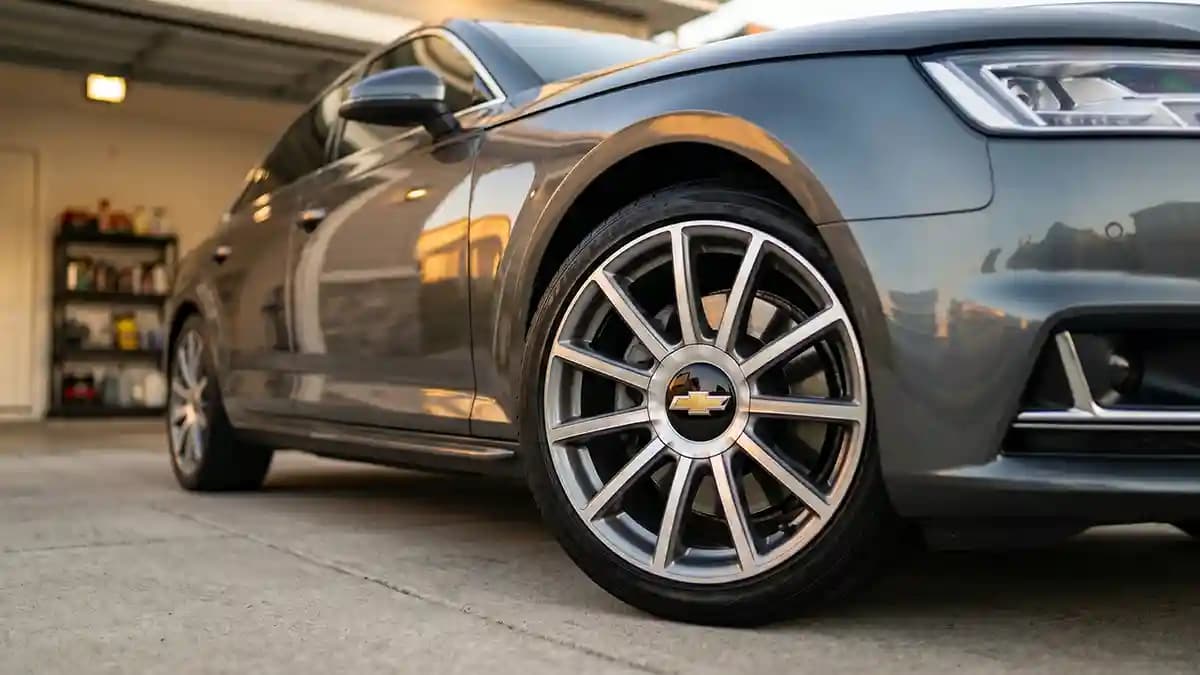
To center a round decal perfectly on a blank hubcap, stop aiming with your eyeballs and build a tiny tape target first. I learned this while crouched by a silver wheel cap on a cold garage floor, holding a shiny badge like I was about to perform surgery on a donut. The trick is simple, find the true center, mark a cross, dry fit the decal, lock it with a masking tape hinge, then press from the middle out. Do that and the title becomes boring in the best way, because the badge lands straight instead of looking like it got scared and ran left.
Why your eye lies to you on a blank hubcap
A blank hubcap looks simple until you try to stick a perfect circle on it. Then your eye starts using the outer lip, the valve stem, the lug holes, and some weird shadow as fake landmarks. That is how a decal ends up one mm off, which sounds tiny until the wheel is on the car and the badge looks like it had a rough morning. Circles are mean like that.
Here is what throws people off most.
The outer lip is not always centered with the flat face.
The cap may have a shallow bowl that makes one side look wider.
Light hits a curved cap and lies right to your face.
A logo inside the decal can make you twist it while placing it.
Your hand blocks the exact part you need to see.
The tools I lay out before I peel anything
I do not start with the decal backing half peeled and panic in my soul. I lay out the tools first, because once the sticky side is open, the job gets loud fast. You do not need a full sign shop, a magic table, or a guy named Gary judging you from the driveway. You need a few cheap things and a little patience.
Grab this before you touch the badge.
Low tack masking tape.
A clean microfiber cloth.
Isopropyl alcohol mixed with water, or a safe surface cleaner.
A small ruler, caliper, or measuring tape with mm marks.
A fine tip marker or pencil for tape marks only.
A plastic card wrapped in cloth for soft pressure.
Clean hands, or gloves if you already ate chips.
Clean first or lose before you start
A dirty cap can make a perfect install fail before you even get to the fun part. Brake dust, wax, tire shine, road film, and finger oil all sit there like little glue blockers. I wash the cap, dry it, then wipe only the bonding area so I am not dragging grime back into the center. The surface should feel dry and plain, not slick like a bowling lane.
My quick prep routine is this.
Wash the cap face with mild soap and water.
Dry the cap with a clean cloth.
Wipe the flat landing zone with isopropyl alcohol mix.
Let it flash dry until the surface looks dull and clean.
Do not touch the bonding area again with bare fingers.
Find the real center without acting like a wizard
The real center is not always where the cap looks centered. You need the center of the flat landing circle, because that is where the decal actually sits. If you are using wheel emblems, measure the same visible flat area you plan to cover, not the whole plastic cap. That one rule saves you from the classic mistake, buying the right badge and sticking it on the wrong target.
Use this tape cross method.
Put the cap face up on a table.
Measure the flat landing circle from left to right.
Find half that number and mark it on a small strip of tape.
Do the same from top to bottom.
Place thin tape strips through those marks to make a cross.
Make sure the cross meets at the true center.
Dry fit the decal over the cross before peeling anything.
The tape cross is your fake bullseye. It gives your eyes something honest to follow, which is a nice change because your eyes have been freelancing badly up to this point. Keep the marks on tape, not on the cap face, unless you enjoy tiny regret. When the decal covers the cross evenly on all sides, you are close enough to stop sweating
The masking tape hinge is the cheat code
A masking tape hinge keeps the decal from wandering when you peel the liner. I like this method because it turns a scary one shot move into a small controlled flap. The badge stays aimed at the same spot, and your hands stop doing that nervous hover dance. It is not fancy, but it works, and fancy is often just expensive messy.
Set the hinge like this.
Place the decal face up with the liner still on.
Center it over the tape cross.
Put one strip of masking tape across the top edge.
Press the tape to the decal face and cap so it works like a small hinge.
Lift the decal upward on the hinge.
Peel the liner while holding the decal by the edges.
Lower it slowly back toward the cross.
Do not rush the lowering part. Watch the left and right edge gap as the decal comes down, because that gap tells you if the badge is drifting. If the hinge was placed clean, the decal will return to the same spot you dry fit. If it does not, lift before full contact and fix the hinge, not the sticky decal.
Press from center out, not from the edge inward
Once the decal touches, press the center first. This pushes air outward and gives the badge a clean seat on the cap. If you press the edge first, you trap air in the middle, and now you own a tiny shiny blister. Not the look.
Here is my press pattern.
Touch the center down first.
Press straight down with a clean thumb.
Work outward in small circles.
Press the top half, then the bottom half.
Finish with firm pressure around the full outer edge.
Hold steady pressure for about thirty seconds.
Leave it alone instead of poking it like a raccoon.
The edge press is where most installs are won or lost. A domed decal has weight and thickness, so the outer rim needs full contact with the cap. I wrap a plastic card in cloth and use it to press around the circle without scratching the dome. If the decal is soft enough, your thumb works fine, but keep it clean.
What to do when the cap has no clear circle
Some blank hubcaps make life easy with a flat round pad in the middle. Others have a soft curve, a raised ridge, or a little bowl that makes the decal sit like a coin on a pillow. That is when you stop and choose the landing zone before you choose the sticker size. The wheel emblem FAQ is useful here because it keeps the focus on the visible flat circle where the badge will bond.
Use this fit check before you commit.
If the center is flat, match the decal to that flat circle.
If there is a lip, choose the flat floor inside the lip.
If the cap is recessed, measure the bottom of the recess.
If the face is curved, do not force a stiff dome onto it.
If the surface is rough, expect weaker edge contact.
A one mm smaller decal can look cleaner than one that rides the edge. This is where people get proud and order the largest size possible, like the badge is a pizza. Big is not better if the edge hangs over a curve. The right size is the one that sits flat and looks calm.
The tiny mistakes that make the badge look drunk
A crooked badge does not always scream at you right away. Sometimes it whispers from across the driveway, and then you see it every single time you walk past the car. I hate that feeling, because one small install mistake turns into a daily eye twitch. The fix is boring, and boring is good.
Avoid these little disasters.
Peeling the backing before the dry fit.
Using the outer lip as the center guide.
Marking the cap instead of marking tape.
Pressing the edge before the middle.
Forgetting logo angle across all four wheels.
Installing on a cap that still feels slick.
Trying to fix a crooked badge after full contact.
My garage method for a full set
When I install four wheel badges, I treat the first cap like the master. I do not guess four times and hope the wheel gods are in a good mood. I make one clean layout, confirm the size and logo angle, then copy the same setup on the next caps. It turns the job from art class into a repeatable little routine.
Here is the order I use.
Pick the cleanest cap first.
Measure and mark the tape cross.
Dry fit the decal and check the edge gap.
Set the hinge and install the first badge.
Put that cap next to the second cap.
Copy the mark layout and logo angle.
Install the rest one at a time.
Logo angle is the sneaky one. If the decal has plain color, you only care about center. If it has letters, a crest, or a sharp graphic, you also care about rotation. I use the valve stem as a clock point, then keep every logo pointed the same way so the set looks like it came from the same adult.
After install, leave it alone
This is the hardest part for people with curious fingers. You press the decal, it looks great, then your brain says, go ahead, test the edge. Do not listen to that tiny goblin. Let the adhesive settle and build contact before washing, pressure spraying, or showing your neighbor like you invented fire.
My aftercare rules are simple.
No car wash for at least one day.
No pressure washer aimed at the edge.
No fingernail checks.
No tire shine sprayed near the fresh badge.
Wipe gently after the first drive.
If you are still picking between a flat decal and a raised dome, read the domed stickers versus vinyl guide before you buy. Flat vinyl is easier on some curved faces, while domed resin looks more like a factory badge on a flat cap. I love domes on the right surface, but I will not pretend physics takes orders. The surface wins every argument.
Quick test before you call it done
Stand the cap upright and look at it from a few feet away. Then rotate it a quarter turn and look again, because a bad center often hides from one angle and exposes itself from another. If it still looks centered after rotation, you did the job right. If it looks wrong, figure out whether the sticker is off or the cap shape is playing tricks.
Use this final check.
Equal gap around the decal edge.
Logo angle matches the other caps.
No air bubble under the dome.
Edge is fully pressed down.
Surface is dry and clean.
No tape glue left on the cap.
This check takes less than a minute. It saves you from putting the wheel back on, stepping back, and making the noise people make when they drop a socket into an engine bay. You know the noise. It is mostly sadness with a little metal in it.
FAQ
Can I center a round decal without a caliper?
Yes, but a ruler with mm marks is the bare minimum I trust. A caliper is nicer because it gives you a cleaner read across the flat landing circle. The tape cross matters more than the tool brand.
Should I use a wet install on a domed hubcap badge?
No, I use a dry install for domed hubcap badges. The part is small, and water can slow the bond or make the decal slide at the worst time. A tape hinge gives you control without making soup.
What size decal should I use on a blank hubcap?
Measure the visible flat circle where the decal will sit. Exact size works on a clean flat pad, but one mm smaller often gives a safer edge if there is a lip. Do not measure the whole cap unless the whole cap is the landing zone.
Can I peel the decal back if it lands crooked?
You can try, but the bond will not thank you. Lifting a fresh decal can stretch it, bend the dome, or weaken the adhesive. That is why the dry fit and hinge matter so much.
How do I make all four wheel badges match?
Use the same tape marks on each cap and match the logo angle before pressing. I like to use the valve stem as a clock reference when the cap is already on the wheel. Center comes first, then rotation.
A centered badge makes a cheap blank hubcap look like it had a plan. The job is not hard, but it punishes guessing, which is rude but fair. Measure the flat face, mark the cross, hinge the decal, press from the center, and leave it alone while the bond sets. Once you get the first one right, the rest feel easy, and your wheels stop looking like they got dressed in the dark.