
Sticker Residue Removal: How to Remove Old Sticker Residue Without Damaging Your Rims
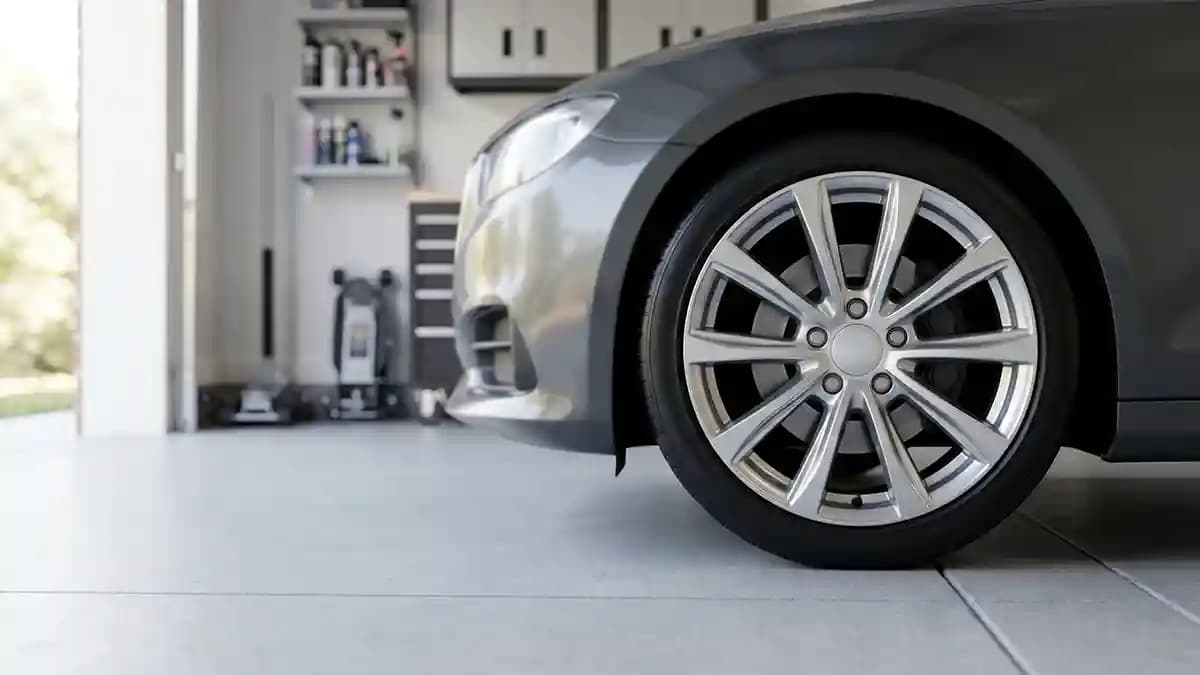
Sticker residue removal without damaging your rims means you soften the old glue, lift it with plastic, use safe solvents in small hits, then wash the oily film away before new emblems go on. That is the honest review of this title, because the scary part is not the sticker, it is the panic move you make when the glue laughs at you. Last week I was kneeling beside a silver alloy wheel with one ugly ring of old adhesive staring at me like a crime scene. I had a microfiber towel, a plastic scraper, and the strong urge to do something dumb fast.
I get why people mess this up. Old sticker glue looks weak, but it sticks like gum on a shoe in July. You start with one little corner, then five minutes later you are hunting for a metal screwdriver. That is how a quick clean up turns into scratched clear coat and sad rim faces.
Why sticker residue removal goes wrong
Most rim damage does not come from the glue. It comes from dirt, heat, hard tools, and using the wrong cleaner like you are trying to strip paint off a fence. Alloy wheels often have paint, clear coat, powder coat, chrome, or polished faces, and each finish has its own mood. Treat them all like bare metal and the wheel will remind you who is in charge.
Here is what usually wrecks the job.
You scrape with metal because you want speed.
You rub dry grit across the rim face.
You soak the area with harsh solvent.
You leave oily remover on the cap before installing new domes.
The easy path is slower at the start and faster at the end. Clean first, soften second, wipe third, then inspect under bright light. Goo Gone tells car owners to clean around the decal first, use heat, work with a plastic scraper, let remover sit for five minutes, then wash with warm soapy water after the residue is gone. That is close to what I do in the garage.
Start with the wheel, not the solvent
I never start by spraying stuff. I start by washing the wheel like I am trying to find out what is really there. Brake dust, tire shine, road film, wax, and old soap can sit on top of the residue. If you attack that mess with solvent first, you make sticky soup.
Use this basic setup before any safe solvents touch the rim.
Park in shade and let the wheels cool.
Rinse loose grit with clean water.
Wash with normal car soap.
Dry with a clean microfiber towel.
Look at the residue from more than one angle.
That last step matters. Sometimes what looks like glue is actually faded clear coat, stained plastic, or a worn center cap face. If it is glue, it usually feels raised and tacky when you touch it with a clean fingertip. If it feels flat and the surface color has changed, stop rubbing like a raccoon in a trash can.
Safe solvents for alloy wheel care
Safe solvents are not magic juice. They are tools, and tools still need a brain behind them. Goo Gone, WD 40, isopropyl alcohol, and 3M adhesive remover all have a place, but they do different jobs. Use the mildest thing that gets the glue moving, then clean the surface after.
Here is my simple solvent ladder.
Warm soapy water for fresh light glue.
Isopropyl alcohol for thin film and final prep.
Goo Gone for gummy decal residue.
WD 40 for stubborn sticky spots when you need more slip.
3M adhesive remover for serious adhesive on cured auto paint.
WD 40 has its own sticker residue guide that uses car shampoo first, heat from a hair dryer, product dwell time, then a microfiber wipe. The same page also says common sense matters and users should follow product warnings, which is a fancy way of saying do not hose down your wheel like you are baptizing it. I like that reminder because wheels live near brakes, tires, heat, and dust.
3M Adhesive Remover is stronger gear. Sherwin Williams lists it as a blend of non abrasive solvents for removing adhesive, tape, tar, and wax from painted vehicle surfaces, and says it is safe for nearly all cured auto paint. That means test first, use little, and wipe it away with control.
The rim safe method I use
The trick is patience in small bites. You want the glue to soften, not the finish under it. Heat helps old adhesive relax, and a hair dryer is safer than a wild heat gun in most home garages.
This is the flow I trust when a rim comes in with old center cap glue.
Warm the residue with a hair dryer for one minute.
Hold the plastic scraper almost flat to the surface.
Push under the soft edge, not down into the rim.
Wipe lifted glue onto a towel, not across the whole wheel.
Add a small amount of remover to a cloth, not straight to the wheel.
Let it work for a short dwell time.
Wipe in small circles with light pressure.
Wash the area with car soap and water.
Finish with isopropyl alcohol if a new emblem is going on.
That last wipe is where many people blow it. Goo removers often leave an oily film, and that film is great at making new stickers fail. If you are installing fresh wheel emblems, the surface needs to be clean, dry, and boring. Boring is good here.
Goo Gone, WD 40, and alcohol, who does what
Goo Gone is the one I reach for when the glue is gummy and tan, like old tape that has baked in sun. I put it on a towel, press it onto the residue, then let it sit for a few minutes. The official Goo Gone car decal instructions also finish by cleaning with warm soapy water and rewaxing as needed, which is smart because removers can strip protection from the surface. You want clean, not stripped.
WD 40 is more of a slippery helper for sticky residue that smears. It loosens glue, but it also leaves a slick film that must come off before any new sticker goes down. I use it when the residue turns into gray boogers and keeps dragging under the cloth. Then I wash, rinse, dry, and hit the area with alcohol after.
Isopropyl alcohol is the final prep, not the hero for every mess. It cuts light oils and thin films, and it flashes away fast when used right. Do not soak a damaged wheel face or cracked cap with it. Use a little on a clean microfiber, wipe once or twice, then let it dry.
Cleaning rims before new domes
New domed stickers are only as good as the surface under them. A fresh dome over old glue is like putting a clean shirt over muddy arms. From ten feet away it fools nobody, and from two feet away it looks like you lost a small fight with tape. If the center cap has a ridge of old adhesive, the new dome edge will sit high and start lifting.
Use this final prep checklist before you stick anything new.
No raised glue on the face.
No oily shine from remover.
No water hiding near the cap edge.
No dust from brake pads.
No wax or tire dressing on the landing area.
No guessing the size.
If you need a clean factory style finish, browse the 3D domed stickers only after the rim face is truly ready. That way you are not using a nice new badge to hide bad prep. Nice stickers cannot fix slime.
When the residue refuses to move
Some glue gets cooked by sun, brake heat, and time until it acts like concrete with feelings. This is where people reach for metal blades, sandpaper, acetone, or whatever scary bottle lives under the sink. I have done the dumb version before, and yes, the rim lost.
When the glue is hard and crusty, do this instead.
Add heat in short rounds.
Use a plastic razor blade.
Add remover to the cloth and hold it on the spot.
Work one small patch at a time.
Switch towels when the cloth gets dirty.
Stop if color transfers from the rim to the towel.
Meguiar’s current wheel cleaner page is a good reminder that wheel finishes need cleaner that is tough on road grime but safe for the wheel. Their Ultimate All Wheel Cleaner is listed as acid free, pH balanced, and safe for all wheel finishes and painted brake parts. That is the thinking you want here, because the rim finish matters more than your anger at the glue.
What I avoid every time
I have a short list of things that stay away from nice wheels. I have seen a shiny wheel turn dull from one bad idea, and then everyone gets quiet. That quiet is expensive.
Do not use these on rim faces unless you know the finish and accept the risk.
Metal razor blades.
Steel wool.
Dry scrubbing pads.
Acetone on painted or clear coated areas.
Brake cleaner on center cap faces.
Gasoline or strong shop solvent.
A pressure washer aimed at a loose edge.
The pressure washer one gets people. They think water is harmless because it is just water. But high pressure lifts weak edges and turns a tiny peel into a flying sticker. Save the blast for the tire sidewall.
My quick garage story
The wheel that taught me this lesson was a black aftermarket rim with a fake carbon center sticker. The sticker was gone, but the glue stayed behind in a perfect ugly circle. I got cocky because the wheel looked tough. Ten minutes later I had a dull crescent mark that showed up every time sunlight hit it.
The fix was not fun. I had to polish lightly, clean again, and explain why one cap looked like it had a tiny ghost living on it. Since then, I use plastic first, towel based solvents second, and alcohol only for final prep.
That is also why I like custom domed replacements when the old cap face is tired but still flat. If the surface is clean and the size is right, a new dome can make the wheel center look alive again without buying new hardware. Check the FAQ page if you are sorting out sizing before ordering.
The final install check
Once the residue is gone, slow down. The rim face should feel smooth, not tacky. It should look even under light, with no shadow rings of old glue.
Use this last pass before new stickers.
Wash the area with car soap.
Rinse with clean water.
Dry with microfiber.
Wipe the sticker zone with isopropyl alcohol.
Test fit the new emblem before peeling backing.
Press from the center out.
Leave it alone before washing.
If your cap has deep curves, chips, or missing plastic, do not force a sticker to solve a shape problem. Send a clear photo through the contact page and get size help before you buy. A good dome needs full contact around the edge. A bad fit will peel even after perfect cleaning.
FAQ
Can I use Goo Gone on alloy wheels?
Yes, use the automotive version with care and test a hidden spot first. Apply it to a cloth, not a puddle on the rim, then wash the area with warm soapy water after the glue is gone.
Is WD 40 safe for sticker residue on rims?
WD 40 can help loosen sticky residue, but it leaves an oily film. Wash the area after use, then wipe with isopropyl alcohol before installing a new emblem.
Will isopropyl alcohol damage my rims?
Used lightly on a sound painted or clear coated surface, it is a common final prep cleaner. Do not soak cracked, raw, or damaged finishes, and always test if the wheel is rare or freshly refinished.
Can I use a metal razor blade?
No, not on a rim face you care about. Use a plastic razor blade or plastic scraper and keep the angle low.
How clean does the rim need to be before a new domed sticker?
It needs to be smooth, dry, and free of oil, wax, old glue, and brake dust. If your finger feels a ridge, the new dome will feel it too.
Final take
Sticker residue removal is not hard, but it punishes rush jobs. Warm the glue, use plastic, pick safe solvents, clean the oily film, and inspect before you install anything new. Do that and your rim stays sharp, your new emblem sits flat, and you keep your driveway vocabulary normal. That is a good day in my book.