
Troubleshooting 101: Why Is My Sticker Lifting at the Edges?
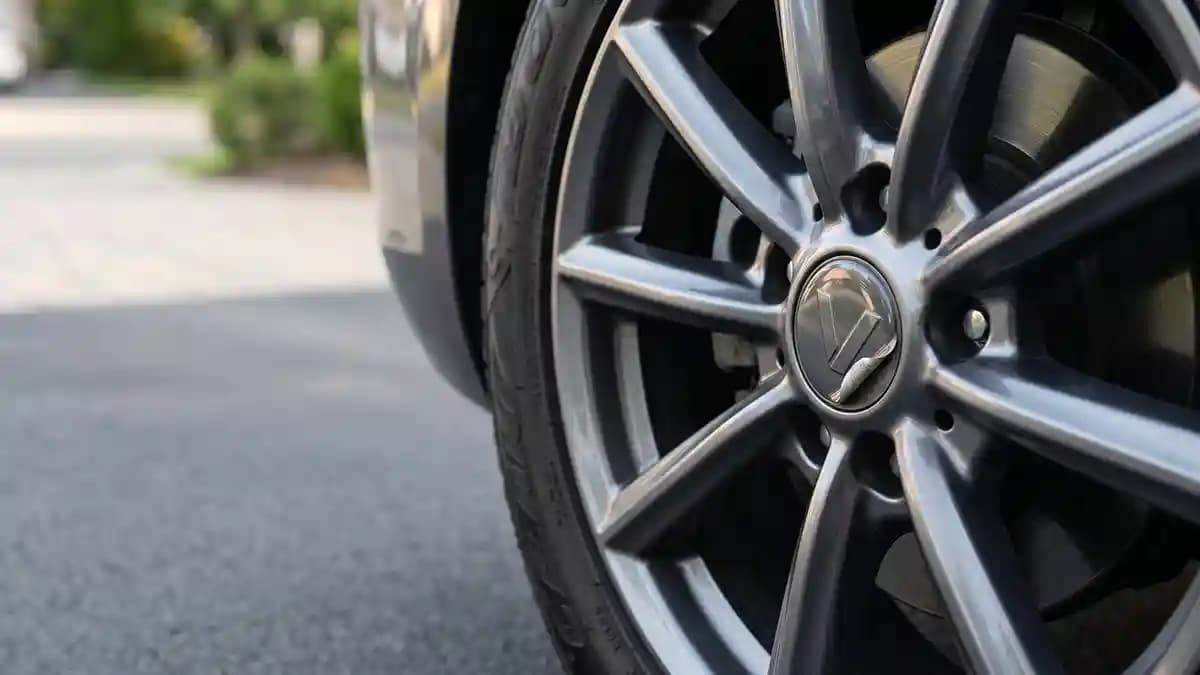
Sticker lifting at the edges happens because the adhesive never got full contact, usually from dirt, wax, cold parts, weak pressure, or a sticker sitting on a curve. I was standing in my garage last week, staring at a wheel cap that looked perfect from ten feet away and terrible from two feet away. One tiny edge had curled up like a potato chip, and of course it was the side everybody would notice. The fix is simple, find the cause, clean the surface like you mean it, warm the parts when needed, press the edge hard, and replace the sticker when dirt has already ruined the glue.
Why edges lift before the middle does
The edge is always the drama queen. The middle of the sticker has the most support, the most pressure, and the least abuse from water and grime. The edge sits out there taking brake dust, wash spray, road salt, finger pokes, and every bad choice you made during install. The 2024 3M guide I checked says edge lifting usually comes from poor adhesion, and it names dirty surfaces, wrong film use, weak edge finishing, and wear from the area around it as common causes.
That sounds like shop manual talk, so here is the garage version. The sticker did not get a clean hug from the cap. Maybe the surface had wax on it, maybe the cap was too cold, maybe the sticker was too big and landed on a curved lip. Once the edge lifts, dust sneaks under it like a tiny raccoon and the adhesive stops acting like adhesive.
When you are choosing custom wheel emblems, the size and design matter, but the landing spot matters more. A strong dome on the wrong surface still loses. I have seen perfect looking stickers fail because they were placed one tiny bit too far out on the rounded edge of a cap. One millimeter can be the difference between clean and cursed.
The fast cause check
Before you try to repair the edge, figure out why it lifted. If you skip this part, you will just press it down, feel proud for six minutes, then watch it lift again like it has rent to avoid. I use this quick check when a sticker edge starts acting weird. It takes less time than finding the tape you swear you put in the top drawer.
Look for dust under the lifted edge.
Touch the cap and check if it feels slick.
Check if the sticker reaches a curved lip.
Think about the install temperature.
Check if the car was washed too soon.
Look for old glue under the sticker.
Check if the edge was pressed firmly.
If you find dirt under the lifted part, be honest. That edge is probably done. You can warm it and press it and talk nice to it, but dirt on adhesive is like sand in your sandwich. Nobody wins.
Clean beats strong every time
People love talking about stronger glue because it sounds like the tough answer. Most edge failures are not a glue strength problem though. They are a surface problem. ORAFOL tells installers to wash without wax, dry the car, remove residue, clean the surface with the right cleaner or isopropanol, and make sure the surface is dry before film goes down.
That is boring. Boring is why it works. A wheel cap can look clean while still wearing a thin film of tire shine, soap, wax, polish, old adhesive, or finger oil. That invisible junk is where good stickers go to die.
Here is my prep kit for wheel cap stickers.
Mild car soap.
Fresh microfiber towels.
Isopropyl alcohol.
Masking tape for alignment.
A hair dryer for cool garages.
Good light so you can see the edge.
Do not use the towel you used on tires. Do not use a greasy shop rag. Do not use that mystery spray that smells like oranges and bad decisions unless the surface is washed after. The cap should feel clean, dry, and plain under your finger, not shiny like a bowling lane.
Cold makes good adhesive act dumb
Cold installs fool people because the sticker can look fine at first. You press it, the dome sits flat, and you walk away thinking you nailed it. Then a few days pass, the wheel sees rain or a wash, and the edge starts lifting. The 2026 shop guide on application temperature uses a practical range of 10 to 32 degrees Celsius, or 50 to 90 degrees Fahrenheit, for sticker, cap, and nearby air.
I like that range because it is easy to use in a real garage. If the cap feels cold against your knuckle, stop. Warm the cap gently with a hair dryer and keep the heat moving. Warm is useful, hot is how you turn a simple job into melted plastic theater.
ORAFOL also points to an ideal surface temperature around 21 to 23 degrees Celsius, and says film commonly reaches its best adhesion after about three days. It also says not to take the vehicle through a car wash before that time has passed. That matches what I see on wheel caps, fresh adhesive needs calm time, not a pressure wash ambush.
The repair that actually has a chance
A tiny fresh lift can sometimes be saved. A dirty, old, curled, dusty edge usually cannot. That is not me being rude to your sticker, that is just how adhesive works. Once the sticky side has dust and oil on it, it stops bonding like a fresh surface.
Try this only if the lifted edge is clean and the sticker is still soft enough to lay flat.
Stop pulling at the edge.
Wash dirt away from the outside area.
Let everything dry fully.
Warm the sticker and cap gently.
Press from the center toward the lifted edge.
Hold steady pressure for 30 seconds.
Leave it alone for at least one full day.
The pressure part matters more than people think. The 3M guide says installers should press film edges again because edges are the weak spot and the first place lift can start. It also says firm strokes help make full adhesive contact, even on surfaces that look smooth.
Do not pick at it with a fingernail every hour. That is not testing, that is sabotage with hands. Press it, warm it if needed, then leave it alone. A sticker cannot build a better bond if you keep poking it like a bored raccoon.
When replacement is the smarter fix
Here is the part nobody wants to hear. Sometimes adhesive repair is just arts and crafts with hope. If the edge has grit under it, if the sticker is stretched, if the dome edge has curled, or if the cap has old glue under the whole thing, replace it. Fighting a bad sticker for weeks is how grown adults end up arguing with hubcaps in the driveway.
Replace it when you see these signs.
Dust stuck to the adhesive.
The edge feels dry instead of tacky.
The sticker was installed over wax.
The cap face is curved under the edge.
The sticker is too large for the flat area.
Old adhesive is trapped underneath.
The edge lifted after a pressure wash.
If you are not sure what size to order, take a clear straight photo and send a photo before buying again. I would rather help you measure once than watch you buy the same wrong size twice. The flat landing area is what counts, not the full cap diameter if the outer ring rolls away. Big is not bold here, big is just more edge waiting to lift.
The install method I trust
I do not start by peeling the backing. That is how people create a panic sticker, crooked, dusty, and somehow stuck to their thumb. I start with the cap in my hand, the sticker still on its liner, and a tiny plan. A wheel emblem install is easy, but only if you do the boring steps in the right order.
Here is the method I use.
Remove the old sticker if it is loose.
Remove leftover glue from the cap.
Wash the cap with mild soap.
Wipe the bonding area with isopropyl alcohol.
Let the surface dry fully.
Dry fit the sticker with the backing still on.
Warm the cap if the garage is cool.
Peel without touching the adhesive.
Set the center first, then roll outward.
Press the full edge with firm thumb pressure.
Notice the part where I do not wash the car right after. That is on purpose. You can read more wheel sticker guides after you finish the install, but do not celebrate by blasting the wheel with water. Give the adhesive time to become boring and strong.
The pressure washer problem
A pressure washer does not care how proud you are of your install. It only cares about finding a weak edge and shoving water under it. 3M warns that aggressive washing can damage graphics, and that too much pressure can force water under the graphic, which lets it lift or curl. Its guide gives careful limits for spray width, distance, pressure, water temperature, and spray angle to help avoid edge damage.
My driveway rule is simple. Never aim the spray under the edge. Stand back, use a wide spray, and sweep across the face instead of digging into the rim like you are searching for buried treasure. If the sticker is fresh, skip the pressure washer and use mild soap by hand.
Brush washes can be rough too. A spinning brush does not know the difference between dirt and your fresh wheel emblem. If your sticker is already lifting, any brush or hard spray can finish the job. That is not cleaning, that is sending the edge to its tiny sticker grave.
Curved caps are sneaky little monsters
A curved cap can look flat from above and still ruin the edge. I learned this the dumb way with a cap that looked simple until the sticker landed. The center stuck great, then the outer edge floated like it had somewhere else to be. From five feet away it looked fine, which is how bad installs trick you.
Use the paper test before you order. Cut a paper circle the same size as the sticker and place it on the cap face. If the paper edge floats, the sticker edge will fight too. If the cap drops into a deep bowl, use a smaller size or ask for help before forcing it.
This is where many people blame the product when the real problem is shape. Adhesive needs contact. It cannot bond to air, hope, or a curved lip that keeps pulling it upward. If the edge sits on a slope, it will try to lift, because physics has no manners.
The mistakes I see most
The same failures show up again and again. I have made some of them myself, which is annoying because I knew better. That is how garage mistakes work. They wait until you are tired, then they climb into your hands.
Installing over wax or polish.
Cleaning with alcohol but not letting it dry.
Touching the adhesive.
Installing in a cold garage.
Using the full cap size instead of the flat area.
Pressing the center but ignoring the edge.
Washing the car the same day.
The fix for all of this is not hard. Slow down before peeling, clean twice, dry fully, test fit, warm the parts if needed, and press the edge like it owes you lunch money. Then walk away. The walk away part is where half the magic lives.
Quick Q and A
Can I glue down a lifted sticker edge?
I do not like super glue for domed stickers because it can make a hard, ugly mess. If the edge is clean and fresh, gentle warmth plus firm pressure is safer. If the adhesive is dirty, replacement is cleaner.
Why did my sticker lift after a car wash?
Water pressure can attack the edge, and fresh adhesive has not had enough time to settle. If the nozzle hit the sticker edge at an angle, it can push water underneath. Wait longer after install and wash gently.
Can I install a sticker over an old emblem?
Only if the old emblem is flat, solid, smooth, and clean. If it is peeling, cracked, oily, or uneven, the new sticker will copy those problems. Remove loose old material first.
How long should I wait before washing?
Give it at least one full day, and I like three calm days when the weather is cool or damp. The first wash should be gentle. Do not aim water under the edge.
What is the best surface for a wheel sticker?
Clean, dry, smooth, and flat is the sweet spot. Mild curves can work if the size is right and the edge lands flat. Deep curves are where stickers start plotting their escape.
Final take from the garage
Sticker lifting is not random. It is a clue. The edge is telling you something about dirt, wax, temperature, pressure, size, curve, or washing too soon. Listen to that little lifted corner before it turns into a full peel.
When the edge is fresh and clean, warm it, press it, and give it rest. When the edge is dirty or stretched, stop fighting it and replace it the right way. Measure the flat area, clean like an adult, install warm, press the edge, and leave the pressure washer alone. Do that and your wheel cap stops looking like a cheap sticker job and starts looking like it belongs on the car.