
Wheel Hub Clearance: How to Test Your Wheel Hub Clearance for Aftermarket Center Caps
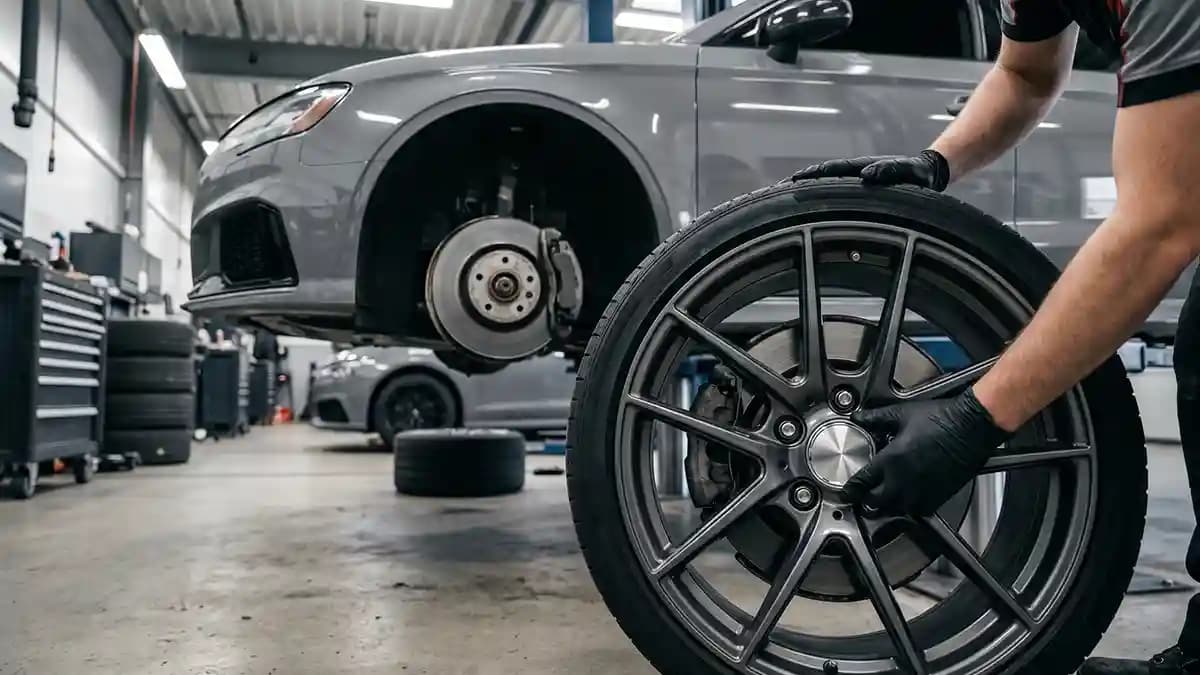
Wheel hub clearance is the space your aftermarket center caps need so they can sit flat without touching the axle nut, dust cap, hub face, brake parts, or anything else hiding behind the wheel. That answers the title right away, because the test is not about whether the cap almost fits, it is about whether it clears with room to spare. I learned that while kneeling beside a set of fresh performance wheels with a center cap that would almost click in, then pop back out like a tiny plastic jack in the box. Almost fitting is still not fitting, and wheels love to teach that lesson in the most rude way possible.
Why wheel hub clearance gets missed
Most people measure the front of the center cap and stop there. They check the outer diameter, match the logo size, and wipe the cap with whatever rag is near them. Nice effort. The problem is the ugly stuff behind the cap decides if the cap can live there.
What can steal your space:
Axle nut sticking past the wheel center.
Dust cap or grease cap sitting tall.
Hub pilot height reaching into the cap.
Split pin bent across the axle end.
Centering ring blocking cap tabs.
Brake rotor screws or locating pins near the wheel pad.
Cap clips hitting the back of the wheel.
That is why aftermarket center caps are not just a size game. A cap can be the right diameter and still fail because the back side has no room. Think of it like buying shoes based only on length while ignoring that your foot is shaped like a potato. The number is right, but the fit is still angry.
The simple clearance rule
You need more inside depth in the cap than the tallest part sticking out from the hub. I like a small safety gap because plastic, resin, heat, and vibration all act like they had too much coffee. If the axle protrudes 8 mm and the cap has only 8 mm inside depth, you do not have clearance. You have a future clicking noise.
Use this quick rule before you order or press anything in:
Measure the tallest hub part from the wheel mounting face.
Measure the usable inside depth of the cap.
Subtract hub height from cap depth.
Keep a small gap so the parts never touch.
If the number is zero or below, stop and fix the fit.
Real talk for a second. A center cap is not a clamp. It should sit flush because the shape is right, not because you shoved it in like an overpacked suitcase. If you have to hit it hard, something is wrong.
Tools I use when checking aftermarket center caps
You do not need a fancy tool cart with a loan payment. You need a few simple things that tell the truth. I keep these in the same drawer because clearance checks are quick when the tools are not hiding under a greasy towel. The towel is always guilty, by the way.
Grab this before you start:
Digital calipers for depth and diameter.
A straight edge or flat ruler.
Modeling clay or soft putty.
A flashlight.
The actual center cap.
The wheel, off the car if possible.
Digital calipers are the hero here. You can use a ruler, but a ruler near wheel hardware feels like trying to cut steak with a spoon. It works until it does not. If you already use custom wheel emblems, exact numbers save you from ordering a pretty circle that fights the wheel.
Measure axle protrusion the sane way
To measure axle protrusion, you need a flat reference point. The wheel mounting face is the flat part of the hub where the wheel touches the car. That face is your zero point. Anything sticking out beyond it is what your center cap must clear.
Do it like this:
Put a straight edge across the wheel mounting face of the hub.
Make sure it sits flat and does not rock.
Use the depth rod on your calipers to measure down to the top of the axle nut, dust cap, or hub nose.
Write down the tallest number.
Check more than one spot if the shape is uneven.
Repeat on both front hubs and both rear hubs.
Yes, all four corners can be different. Front axles often have more hardware in the middle than rear hubs. Some cars have a proud dust cap up front and a flat rear hub, which is rude if you wanted the same cap everywhere. Measure all four, because guessing is how you buy sadness in a box.
Measure the cap depth without lying to yourself
The inside of the cap is where dreams go to get trapped. Some caps look deep from the outside but have ribs, logo posts, clips, or a raised center inside. The usable depth is not the deepest hole you can find. It is the shallowest spot that can touch the hub first.
Measure it like this:
Place the cap face down on a clean towel.
Lay a straight edge across the back edge that seats against the wheel.
Use the depth rod to measure down to the shallowest inner point.
Check the middle.
Check near ribs or clips.
Write down the smallest number.
The smallest number wins. I know, that feels unfair. But the tallest hub part and shallowest cap point are the two parts that meet first. They are like two stubborn goats on a narrow bridge.
Use clay when the shape is weird
Some wheels do not give you a clean flat reading, and some hubs have a dust cap that looks like a tiny metal volcano. Roll a small ball of clay, place it on the tallest hub point, mount the wheel by hand with two snug lugs, and press the cap gently. Pull it back apart and measure the flattened clay. Do not drive with clay in there, unless you enjoy inventing stupid problems.
Watch the centering ring trap
Centering rings are helpful, but they can mess with some center caps. Aftermarket wheels often use a larger center bore so one wheel design can fit many cars, and hub rings fill the space between the wheel bore and the vehicle hub. That is useful for centering during install, but the ring can sit in the same space as cap tabs on certain wheel designs. This is where a good wheel shop earns its coffee.
Check these ring issues:
The cap teeth hit the ring.
The ring blocks the cap from seating.
The ring pushes the cap outward.
The ring is too thick near the front bore.
The cap fits without the ring but not with it.
Do not toss the rings just because they annoy you. Figure out what your wheel and lug setup calls for. A center cap is not worth a vibration problem. It is a cap, not a life coach.
Brake parts can still ruin your day
People hear wheel hub clearance and think only about the axle end. That is the main villain, but brake parts can join the fight. Calipers, inner valve stems, wheel weights, locating pins, and rotor screws can all create contact points. That is why a real test fit beats guessing every time.
Use this wider check before driving:
Mount the wheel without the center cap.
Hand tighten the lugs so the wheel sits flat.
Spin the wheel by hand.
Listen for scraping.
Look through the spokes with a flashlight.
Check the valve stem and wheel weights.
Turn the steering both ways.
Lower the car and check again.
Suspension moves. Heat grows things. Wheels flex a tiny bit. A rub that sounds small in the garage can sound like a fork in a blender once you drive.
What counts as enough clearance
I do not love one magic number for every car, because cap shape, plastic stiffness, hub heat, and wheel use all change the answer. A flat cap on a street car does not live the same life as a tall cap on a track wheel. Still, I like a real visible gap, and I get nervous when anything is under a few mm. If you can only prove clearance by squinting, you do not have enough.
Use this shop sense guide:
Zero clearance means no.
Less than 1 mm means no for me.
Around 2 mm is still tight.
Around 3 mm to 5 mm is better for many street setups.
More space is better if the cap design allows it.
Track cars and high heat setups deserve extra care.
A real cap depth example from an Enkei RPF1 cap guide gives only 5 mm of allowed protrusion before the car part contacts the cap and stops it from seating. That is a great reminder that cap depth is not a vibe. It is a number. Sometimes it is a small one.
Fixes when the cap does not clear
Good news, a failed clearance test does not mean your wheels are cursed. It means the parts are telling you what they need. Bad news, if you ignore them, they will punish you with cracked caps, lost badges, or a noise that makes you hate your own car. I have seen all three, and none of them made anyone taller or richer.
Smart fixes:
Use a shallower center cap if the wheel design allows it.
Use a taller center cap if the face style still looks right.
Choose a flat domed sticker instead of a bulky cap face.
Reposition a cotter pin that crosses the axle end.
Use the correct thin wall centering ring if ring space is the issue.
Talk to a wheel shop before using spacers.
Send measurements before ordering custom badges.
If your old cap body fits but the face looks rough, a domed emblem can refresh it without changing the inside clearance at all. That is why I like overlays when the cap shell is still doing its job. You get the clean face without starting a fight behind the wheel. If you need help with sizing, send a quick photo through custom order help before you buy four tiny regrets.
When a domed sticker is the better move
A full replacement cap can create clearance problems because it has structure behind it. A domed sticker sits on the face of a cap that already fits. That makes it a smart fix when the plastic cap body is fine but the logo is faded, scratched, or missing. It is the car version of putting on a clean shirt, not trying to swap your ribs.
Impossible Stickers says it can make almost any size so wheel stickers fit centered rather than almost right, and that is exactly what you want here. If the cap shell clears the hub, keep that win. Then use the face space for the style part. The shop is the better move when the shell is good and only the face looks tired.
My final driveway check
I do one final check before I call it done. This is the boring part that saves the day. It takes a few extra minutes and keeps you from hearing a click, scrape, or pop five miles later. A tiny cap should not get to ruin your evening.
Run this order:
Clean the hub face.
Clean the wheel mounting pad.
Confirm the ring, if used, sits flat.
Mount the wheel.
Hand start every lug.
Tighten in the right pattern with a torque wrench.
Press the center cap by hand.
Confirm it sits flush all the way around.
Spin the wheel while raised.
Lower the car and listen during a slow drive.
Do not skip the slow drive. I like a quiet street, no music, window cracked, listening like a nosy old man. If something clicks once per wheel spin, stop and check. Your car is talking, and for once it is not just asking for gas.
FAQ
Can I drive without center caps
Yes, many cars can drive without center caps, but the hub area will be more exposed to dirt, water, and ugly. The bigger issue is looks, corrosion, and keeping the wheel center clean.
Do aftermarket center caps affect wheel balance
A normal center cap does not change balance enough to matter when it fits right and locks in place. A loose cap is a problem because it can rattle, move, or leave the wheel.
Can I use spacers to create cap clearance
Sometimes spacers create more room, but they also change wheel position, hardware needs, and fitment. Do not use spacers just to hide a bad cap choice.
What if the front caps do not fit but the rear caps do
That is common on cars with taller front axle hardware. Measure front and rear separately. You may need different cap depth, a sticker overlay, or a different cap plan for the front.
Should I glue a center cap that keeps popping out
No, not until you know why it pops out. Glue will not fix blocked tabs, bad depth, or ring contact. Find the hard contact point first, then choose the right fix.
The clean finish
Wheel hub clearance is not glamorous, but it is the little check that keeps aftermarket center caps from turning into driveway confetti. Measure the hub height, measure the cap depth, check the rings, spin the wheel, and trust the numbers more than your hope. If the cap shell already fits, refresh the face with a clean domed emblem instead of creating a new clearance problem. If you are stuck, check the FAQ before ordering, because four correct caps feel better than four shiny mistakes.