
How to Prevent Air Bubbles When Installing Large Domed Emblems
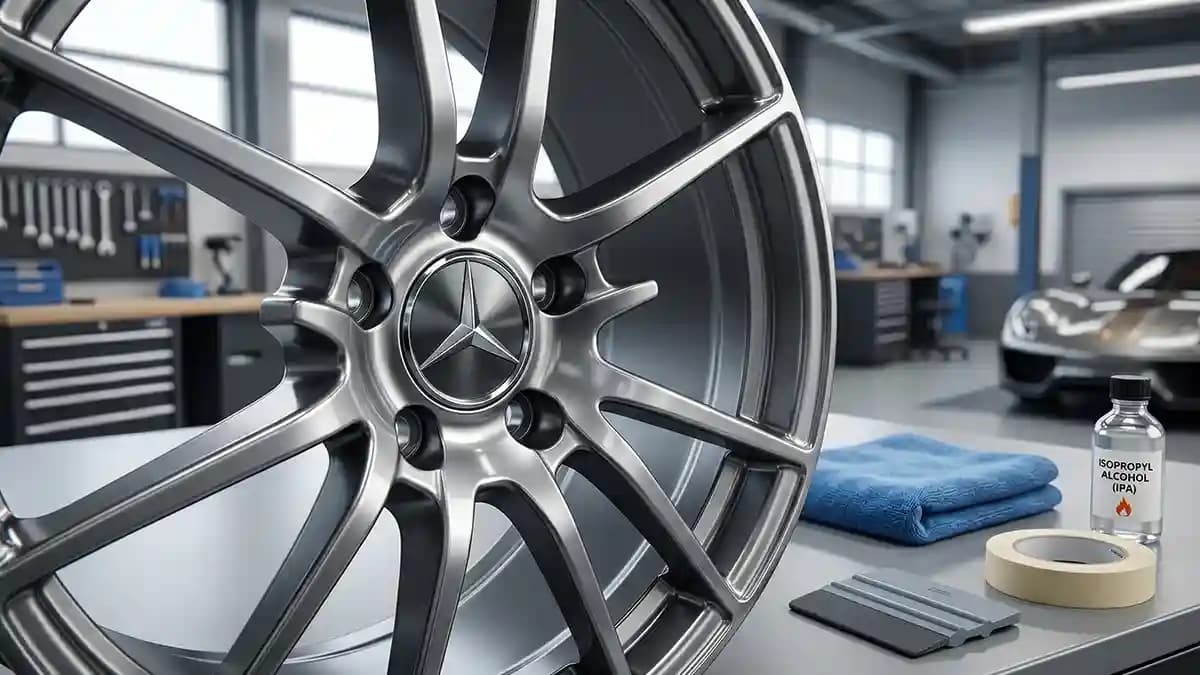
Prevent air bubbles when installing large domed emblems by cleaning the cap, anchoring one edge, rolling the emblem down slowly, and pushing air toward the open side before the adhesive gets full bite. That is the honest answer to the title, and yes, it sounds too simple until one fat bubble sits under a glossy dome like a tiny trapped ghost. I learned it while fixing a wheel cap in my garage with cold fingers, bad light, and way too much pride. The emblem looked perfect in my hand, then it hit the cap wrong and I stared at it like it had betrayed me personally.
Why air bubbles happen under large domed emblems
Large domed emblems trap air because they are thick, glossy, and less forgiving than flat vinyl. A small flat sticker can flex around your bad choices, but a raised polyurethane dome keeps its shape and shows every pocket underneath. The bigger the emblem, the more area you have to control, which means more ways for air to hide. Bubbles are not bad luck, they are trapped air with an address.
The usual causes are boring, which is why people skip them.
Dust on the cap face
Wax, tire shine, or polish left behind
Touching the adhesive with oily fingers
Dropping the whole emblem flat at once
Pressing the outside edge before the center has a path out
Using a cap face with a dip, crown, groove, or old raised logo
The real crime is giving air no exit. When you press all around the edge first, you make a little air jail in the middle. Then you poke, press, swear, press again, and the bubble just moves around like it pays rent there.
Clean prep beats every fancy trick
I do not care how nice the emblem is, it cannot bond to dirt. A big dome needs full contact, and full contact starts before the backing comes off. Current Avery Dennison guidance says a clean, dry surface is needed for proper bonding, wax and polish residue need to be removed, and film, air, and surface temperature all matter. It also lists 70°F to 80°F as the easy range for application and says to allow 24 hours before putting marked vehicles into service.
Here is the prep routine I use when I want the job to look like I meant it.
Wash the cap with car soap and water.
Rinse the soap out of every groove.
Dry the cap with a clean microfiber towel.
Wipe the flat badge area with isopropyl alcohol.
Let the alcohol flash off fully.
Stop if it feels slick, greasy, dusty, or damp.
A clean cap has a dry little squeak to it, like fresh glass. A dirty cap feels smooth in the wrong way, almost oily. That wrong smooth feel is where good emblems go to die.
Dry fit before you peel anything
Dry fitting is where you catch dumb problems while they are still cheap. Set the emblem on the cap with the backing still on, then look from straight ahead and from the side. If the dome edge lands on a raised lip, a bevel, a groove, or an old emblem ridge, you are not ready to peel. Browse the custom domed wheel center cap emblems first if you still need the right size, because hope is not a measuring tool and it never has been.
I check these four things before the adhesive sees daylight.
Does the emblem sit flat without rocking
Is the outer edge fully supported
Is the design lined up with the valve stem or logo direction
Is there a clear air path from the first contact point to the far edge
That last one matters a lot. Air needs a way to leave. If you block the edge too early, you are building a tiny balloon under a badge. It is not dramatic, but it will annoy you every time you wash the car.
Use a hinge so the emblem cannot wander
The center hinge method sounds like something a sign shop guy would say while holding ten rolls of tape, but it works. 3M current signage guidance uses a center hinge method for larger graphics, with tape holding the piece, half the liner removed, and firm overlapping strokes working from the hinge toward the edge. That same idea scales down nicely to large wheel emblems, because it keeps the piece from shifting while you control air. Do not slap the emblem down like a fridge magnet, because slapping is for mosquitoes, not wheel badges.
Here is my garage version.
Set the emblem in the exact spot with the backing still on.
Run two strips of low tack tape across the middle to make a hinge.
Lift one side of the emblem back.
Peel the liner from that side only.
Hold the raised dome slightly above the cap.
Roll the exposed adhesive down from the hinge toward the outer edge.
Repeat on the other side.
The rolling method for large domed decals
The rolling method is the one I trust most for large domed decals because it gives air one simple direction. You start at one edge or one hinge line, then roll the emblem down slowly while your thumb or felt squeegee follows right behind the contact line. ORAFOL guidance for dry adhesion says to position the film first, then apply the rest with a plastic squeegee in overlapping sweeps, and its wet guidance says water must be squeezed out from between the surface and adhesive. That is the key idea here, overlap your passes and give trapped stuff a way out.
Use this exact rhythm.
Hold the emblem like you are closing a book very slowly.
Let only a thin strip of adhesive touch first.
Press that strip with a thumb wrapped in microfiber or a felt squeegee.
Move forward a few millimeters at a time.
Keep the unpressed part lifted.
Push from the contact line toward the open edge.
Finish with firm pressure around the full edge.
The trick is to move like you are afraid of waking a baby. Slow is smooth here. Fast makes wrinkles, trapped air, and that dumb little silver crescent you only see when the sun hits the cap. Your neighbor will not notice it, but you will, and that is worse.
The center out squeegee method
The center out squeegee method works best when the emblem is round, the cap face is flat, and the piece is already aligned. You touch the center first, then press outward in small slices like you are pushing pizza sauce to the crust. Use a felt edge, not a hard bare plastic corner, because a dome surface can mark if you get rough. This is not arm wrestling, it is guided pressure.
My center out pattern is simple.
Place the emblem lightly in position.
Touch the center only.
Press from center to twelve o clock.
Press from center to six o clock.
Press from center to three o clock.
Press from center to nine o clock.
Fill the gaps with short overlapping strokes.
Finish the edge with a full slow circle.
This method gives you even pressure without sealing the edge too soon. Do not chase air in circles, because circles make you feel busy while doing nothing. Push air to an edge and let it leave. That is the whole point.
The tools that make this easier
You do not need a lab coat. You need clean hands, better light, and a few tools that keep you from looking like you are fighting a shiny pancake. I keep mine in a small box because the day you need them, they will hide under the tire brush. Tools do not make you smart, but they stop the dumb stuff from winning.
My install box has this.
Isopropyl alcohol
Clean microfiber towels
Low tack masking tape
Felt squeegee
Bright work light
Hair dryer or heat gun on low setting
Heat is last on purpose. Mild warmth helps cold adhesive flow, but heat is not a magic wand. It does not fix grease, wrong size, or a cap shaped like a soup spoon. For harsher installs, read the heat and adhesive guide before pointing hot air at anything expensive.
What to do if a bubble is already trapped
First, do not panic and mash the whole dome like you are making mashed potatoes. If the bubble is near an edge, warm the area gently with your hand or a little mild heat, then press from the bubble toward the closest open edge. Avery Dennison guidance for wrap films says remaining bubbles can be pushed out with a finger, squeegee, or air release tool, and small bubbles can be punctured and pushed out in some film installs. On a domed emblem, I treat puncture as the last move, not the first move, because the dome face is the thing you paid to keep pretty.
Use this rescue order.
Warm the emblem gently with your hand.
Push from the far side of the bubble toward the closest edge.
Use a felt squeegee, not a sharp corner.
Hold pressure for ten seconds after the air moves.
Use a fine pin only at the edge if the maker says it is safe.
Do not stab the middle of a nice dome like a maniac.
A tiny bubble near the outer edge often leaves with calm pressure. A big bubble in the middle means the piece was dropped too flat or sealed too soon. That is not the end of your day, but it tells you the method was wrong. Next time, hinge it and roll it.
Mistakes that bring bubbles back later
Some bubbles show up right away. Others show up after a day, a wash, or a hot drive. That usually means the adhesive never made full contact or the surface under it was still holding moisture, solvent, wax, or old glue. This is also where edge lift starts, and the edge lifting guide is worth reading if the outer rim starts to curl.
Here are the mistakes I see over and over.
Cleaning with glass spray that leaves residue
Installing right after tire shine
Pressing the edge first
Applying over a raised factory logo
Ignoring cold parts
Washing the wheel too soon
Buying a badge one millimeter too large
Touching the adhesive while lining it up
The one millimeter mistake is the sneaky one. A badge can look right in your hand and still ride the cap lip once it is on the wheel. When the edge has no flat support, pressure washers and road grime get a free starting point. That is how a bubble becomes a peel, and then your wheel looks sad at the grocery store.
My no drama install routine
I like routines because they keep me from trusting my mood. My mood once told me I could eyeball a badge on a black wheel at dusk. My mood is an idiot. So I repeat the same steps every time.
Here is the routine.
Pull the cap if it is safer to work on a bench.
Wash and dry it fully.
Wipe the badge face with alcohol.
Dry fit the emblem with backing on.
Make a hinge with low tack tape.
Roll the first side down.
Roll the second side down.
Press the full face once.
Press the edge twice.
Let it sit before washing.
Four caps take longer to clean than to stick, and that is the point. The sticking part should feel boring and calm. If it feels like a fight, stop and reset.
FAQ
Why do I get air bubbles under large domed emblems
You are either trapping air with poor pressure direction or the surface is not clean enough for full contact. Big domes show the mistake faster because they do not flex like thin vinyl. Roll from one side or use a hinge, and give air a clear exit.
Should I use water to install a domed emblem
I do not use water unless the emblem maker tells me to. A domed wheel emblem needs strong dry contact, and trapped fluid can slow the bond or create haze under the piece. Dry install with clean prep is the safer garage move.
Can I press bubbles out after the emblem is installed
Yes, if the bubble is small and close to an edge. Warm it gently, then push toward the closest edge with a felt squeegee. Do not jab the middle of the dome unless you are ready to live with that mark forever.
How long should I wait before washing the wheels
Give the emblem at least a full day before normal wash stress. If the weather is cold, damp, or the cap was hard to bond, give it more calm time. Fresh glue hates pressure washers the way cats hate baths.
Final garage advice
The cleanest install is not the one with the strongest thumb. It is the one where the air never gets trapped in the first place. Clean the cap, dry fit the emblem, make a hinge, roll it down, then leave it alone. Do that and the dome catches light like it was molded there, not stuck on during a driveway wrestling match.
You do not need to be a pro installer to prevent air bubbles. You need patience for the first contact line and the self control to avoid slapping the whole thing down. Large domed emblems reward calm hands. Get that right, and the wheel center looks sharp every time you walk past the car.