How to Safely Remove Factory BMW Wheel Caps Without Scratching Alloys
To remove BMW center caps safely without scratching alloys, the best move is to push them out from behind when the wheel is off, or use tape or a suction cup before you ever let bare metal touch the rim. BMW’s own fixed hub cap guidance points to pushing the caps out from the backside during a wheel change, and BMW accessory listings for floating caps describe the swap as a simple remove and replace job. That lines up with what owners keep reporting in BMW forums too, the safe methods are simple, but the order you try them in matters a lot. So yes, this is an easy job, but only if you respect the wheel more than your ego.
I learned this the dumb way, crouched next to a clean BMW with a towel on one shoulder and too much confidence in my hand. The wheels looked great, the paint looked great, and then I stared at one tired center cap and thought, “this will take ten seconds.” Ten nervous seconds later I had not removed the cap, but I had managed to make a tiny shiny kiss mark on the alloy with the wrong tool. Not deep, thank God, but enough to make me stand there in silence like a man who just dropped toast butter side down.
That is why this tiny job deserves more respect than people give it. The cap is small, but the rim around it is the expensive part. Most people do not mess this up because they are reckless. They mess it up because the cap feels loose in theory and stubborn in real life. One second it looks easy, the next second you are bargaining with a circle of plastic.
The safe rule
The safest method is not always the fastest one. If the wheel is already coming off for tires, brakes, or a deep clean, push the cap out from behind and call it a win. If the wheel is staying on the car, start with the softest method first and move up one step at a time. BMW owner discussions and BMW’s own cap guidance both point in that same direction.
Here is the order I trust.
Inspect the cap and clean the face.
Try strong tape.
Try a small suction cup.
Try a plastic trim tool with protection.
Remove the wheel and push from the back if the cap stays stubborn.
That order saves rims. It also saves your mood.
Before you start, figure out what you are removing
You do not want to use the right method on the wrong part. Some BMW wheels have a full snap in center cap. Others leave people thinking the whole cap is bad when only the top badge or insert looks rough. If you take ten seconds to look, you stop guessing and stop buying the wrong thing later. That part alone saves a lot of pain.
Do this quick check first.
Look for a small gap at the cap edge.
See if the cap body is still seated tight.
Clean off brake dust and road film.
Make sure the wheel is cool.
Turn the steering for better access on front wheels.
Recent BMW owner posts keep landing on the same point, tape and suction methods work much better on a clean cap face. Dirt kills grip, then you pull harder, then the job gets ugly fast.
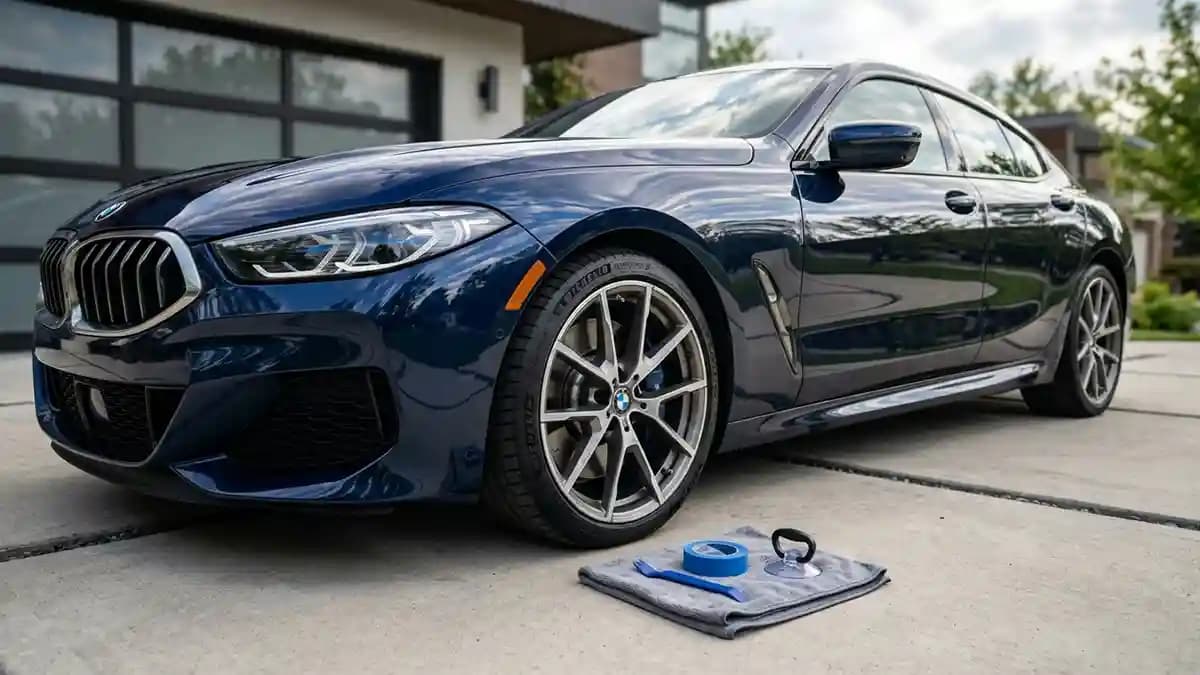
The few tools that actually help
You do not need a giant toolbox for this. You need a few soft things and a little patience. This is one of those jobs where the cheap tool is often the smart tool. The expensive mistake usually comes from whatever sharp thing was already nearby.
Microfiber towel
Painter’s tape or duct tape
Small suction cup
Plastic trim removal tool
Soft cloth under the work area
Jack tools only if you remove the wheel
That is it. No pocket knife speeches to yourself. No “I will just be careful” fantasy.
Method one, wheel off and push from behind
If you want the cleanest and lowest risk removal, this is the one. It is boring. I love boring when alloy wheels are involved. You remove the wheel safely, lay it face down on a towel, then press the center cap out evenly from the rear. BMW USA’s fixed hub cap instructions describe this same basic move during a wheel change.
I like this method for another reason too. It tells you the truth right away about clip condition, dirt buildup, and whether the cap body is still worth keeping. It also makes the next step easier if you are swapping to a fresh piece from the BMW section or browsing the broader wheel emblems collection. Current BMW emblem options on Impossible Stickers run from 20 mm to 120 mm, which is useful once you know what face size you actually need.
Use this method when any of these apply.
The wheel is already off the car.
The cap feels brittle.
The wheels are expensive and you do not want drama.
Tape and suction have already failed.
You want the safest route, not the fastest one.
Method two, the tape pull
This is the method I tell most people to try first when the wheel stays on the car. It is cheap, fast, and usually kinder than prying. Clean the cap face, press one or two long strips of tape down firmly, then pull straight out. Not sideways, not at a weird angle, just straight out from the wheel face.
A BMW G30 forum test compared duct tape against a suction cup and called tape the winner for consistency once the tape was pressed firmly around the cap. That does not make it magic, but it is a very good first shot.
The mistake here is lazy prep. If the cap is dusty, the tape will peel off and you will blame the method when the real problem was your greasy little shortcut. Press the tape down like you mean it. Then pull like an adult, not like you are starting a lawn mower.
Method three, the suction cup trick
This one feels almost too neat when it works. You stick it on, pull, hear the pop, and suddenly you think you are a genius. On a clean, smooth cap face, it can work really well. But some caps hang on harder than others, so treat this as a smart option, not a guarantee.
Forum reports on newer BMWs show suction cups can work on some wheels and struggle on others, while owner threads keep listing them as a common wheel on method. That is why I put suction after tape, not before it.
Use it like this.
Clean and dry the cap.
Press the cup in the center.
Build grip with light pressure.
Pull straight out with steady force.
Reset if it slips.
If it keeps slipping, stop. That is your sign. The cap is not calling you weak, it is telling you to change methods.
Method four, the protected plastic tool
Sometimes the cap laughs at tape and shrugs off suction. Fine. This is where a plastic trim tool earns its keep. The key word there is plastic. Not screwdriver. Not knife. Not whatever bit of metal is lying on the bench looking smug.
BMW owners on newer models describe success with protected tools, including tips wrapped in masking tape to avoid rim and cap damage. That tracks with common sense, softer contact buys you more forgiveness if your hand slips.
Do it this way.
Put painter’s tape on the wheel edge near the cap.
Wrap the tool tip if it feels sharp.
Find the softest access point.
Twist gently, do not stab.
Work in tiny moves until the cap starts to release.
Know when to stop
This is the part that saves the rim. If the cap does not move after a couple of honest tries, stop escalating with your temper. That is when people slip, then suddenly they are studying a new scratch in total silence. You are not losing the battle by taking the wheel off. You are winning the long game.
Switch to wheel off removal if any of these happen.
The cap does not move after two or three attempts.
Your tool angle points toward the rim lip.
The cap feels cracked.
The wheel finish is too nice to gamble with.
You are getting annoyed.
Annoyed hands do stupid little jerks. Stupid little jerks make shiny scratches.
After the cap comes out
The job is not over when the cap leaves the wheel. This is where a clean repair starts to look right. Wipe the center area, check the clips if you are fitting a full cap, then measure the visible flat face if you are applying a new emblem. That last part matters more than people think.
Older BMW conversations often circle around 68 mm, while newer G chassis examples can land at 56 mm, and the only safe answer is still to measure the visible face in millimeters before you buy. Impossible Stickers’ recent BMW content makes the same point, and the current BMW product pages show a very wide custom size range when the cap body itself is still healthy.
If your plastic cap is fine and only the top face looks rough, a fresh BMW domed emblem can save you from buying an entire new cap assembly. And if the old badge has already been peeling, read Why Your Wheel Stickers Keep Peeling Off before you install the replacement, because bad prep is the usual villain.
The mistakes I see all the time
This is the stuff that turns a five minute job into a sulking session. None of it is rare. Most of it comes from rushing.
Using metal first
Pulling sideways
Trying tape on a dirty cap
Prying against bare alloy
Guessing the size
Sticking a new emblem on a damaged face
Washing the wheel right away
I have done more than one of these myself, which is why I sound a little grumpy about them now. A good result is usually quiet, gentle, and kind of boring. Again, I love boring. Boring looks clean, and clean looks expensive.
When a fresh emblem makes more sense than a full cap
Not every ugly BMW wheel center needs a whole new cap. Sometimes the clips are fine, the cap body is tight, and only the top badge is faded, bubbled, or missing. In that case, a properly sized overlay is the cheaper move and often the faster one. Current Impossible Stickers product and production pages also keep stressing the same basics, clean flat surfaces, exact millimeter sizing, outdoor vinyl, a domed resin layer for protection, and careful final QC.
That is also why I separate the jobs in my head. Removal is one skill. Refinishing is another. If you mash them together, you start forcing parts to solve problems they were never meant to solve. If you are dealing with a newer M car heritage roundel problem, How to Fix the BMW 50th Anniversary Center Cap Issue is worth reading too.
My rule for this whole job
Start soft. Protect the rim. Escalate slowly. The moment the method starts to feel sketchy, stop and go to the wheel off approach. That is the whole trick.
Not strength. Not speed. Not some secret tool from a forum legend named Turbo Steve. Just pressure, patience, and the ability to stop before you do something dumb. That is how you remove BMW center caps without scratching the alloys and without needing a little cry afterward.
Quick Q and A
Q: What is the safest way to remove BMW center caps?
The safest way is with the wheel off, pushing the cap out from behind. BMW’s own fixed hub cap instructions point to that method during a wheel change.
Q: Can I remove BMW center caps without taking the wheel off?
Yes, a lot of owners do it with strong tape, a suction cup, or a protected plastic trim tool. The key is starting with the least aggressive method and keeping metal away from the alloy face.
Q: Is duct tape really safe on the cap face?
Usually yes, if the face is clean and you pull straight out. In BMW forum testing, tape was one of the most consistent wheel on methods.
Q: How do I know if I need a full cap or just a new emblem?
If the plastic cap body is still clipped into the wheel and only the face looks bad, an overlay can be enough. If the whole cap is gone or the clips are damaged, replace the full cap first.